Last Updated: 1/12/05
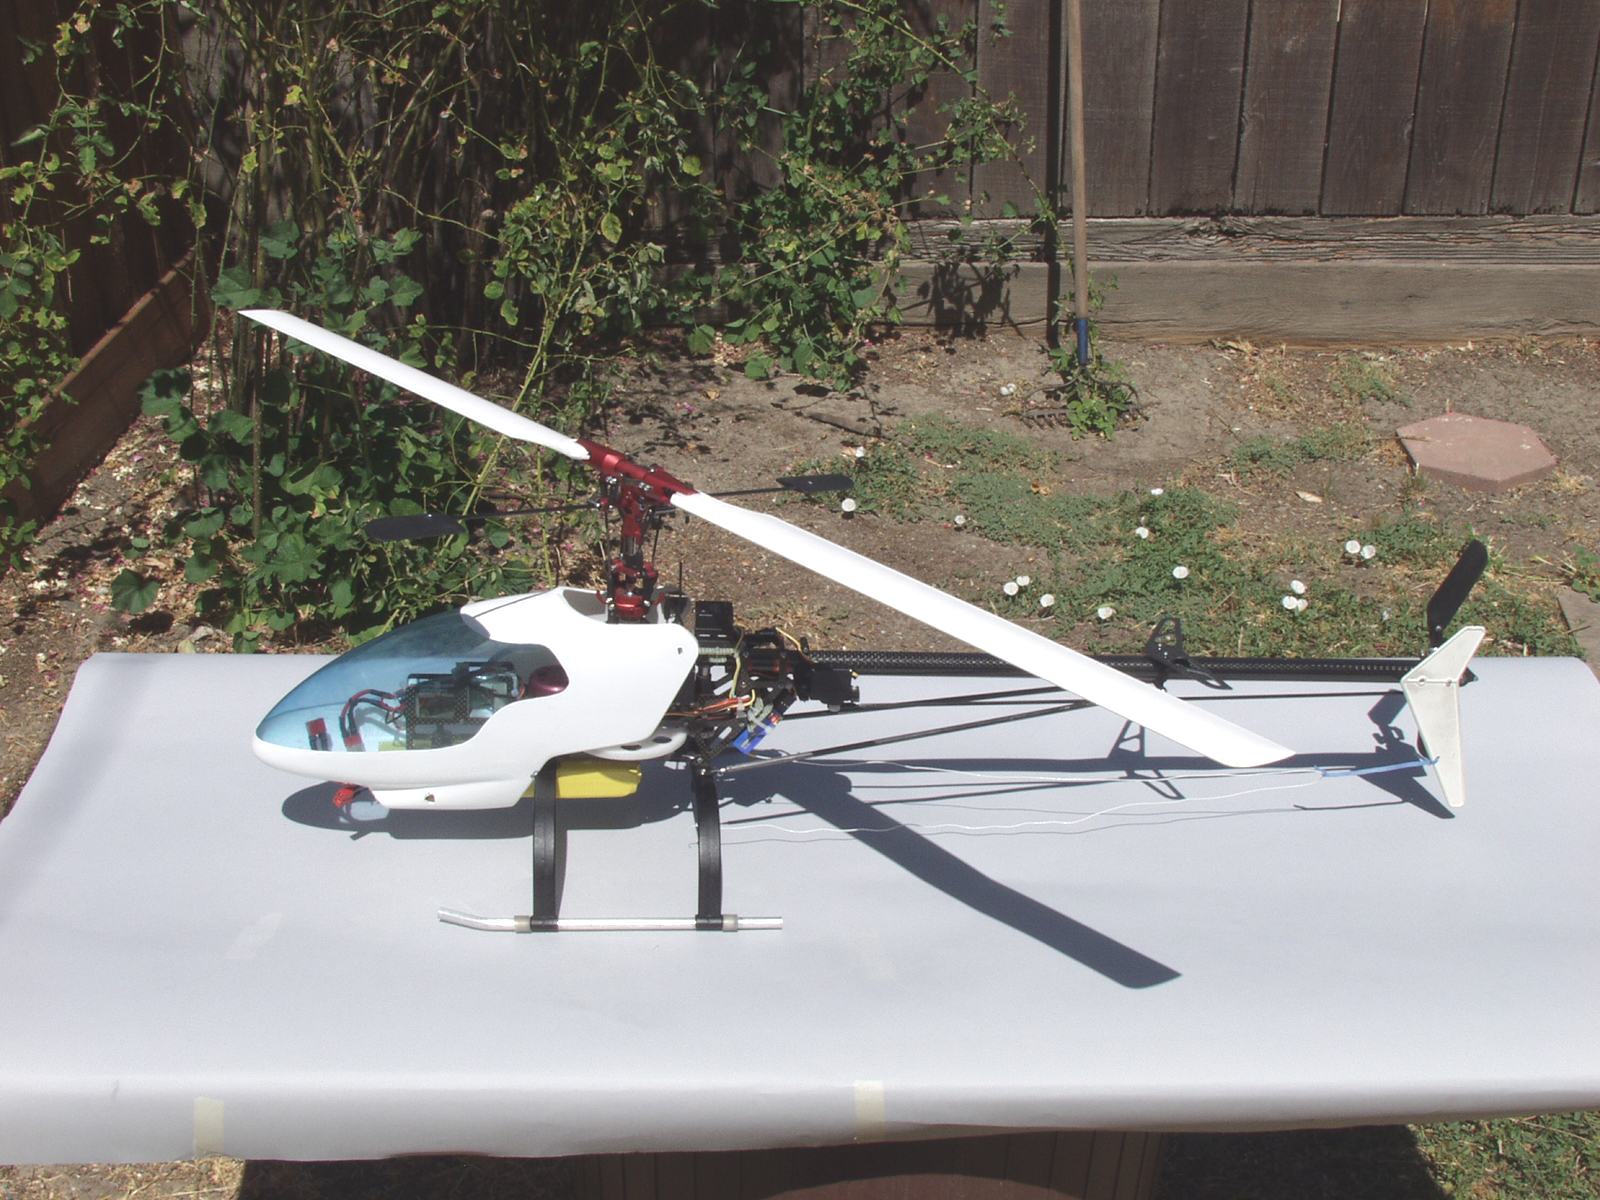
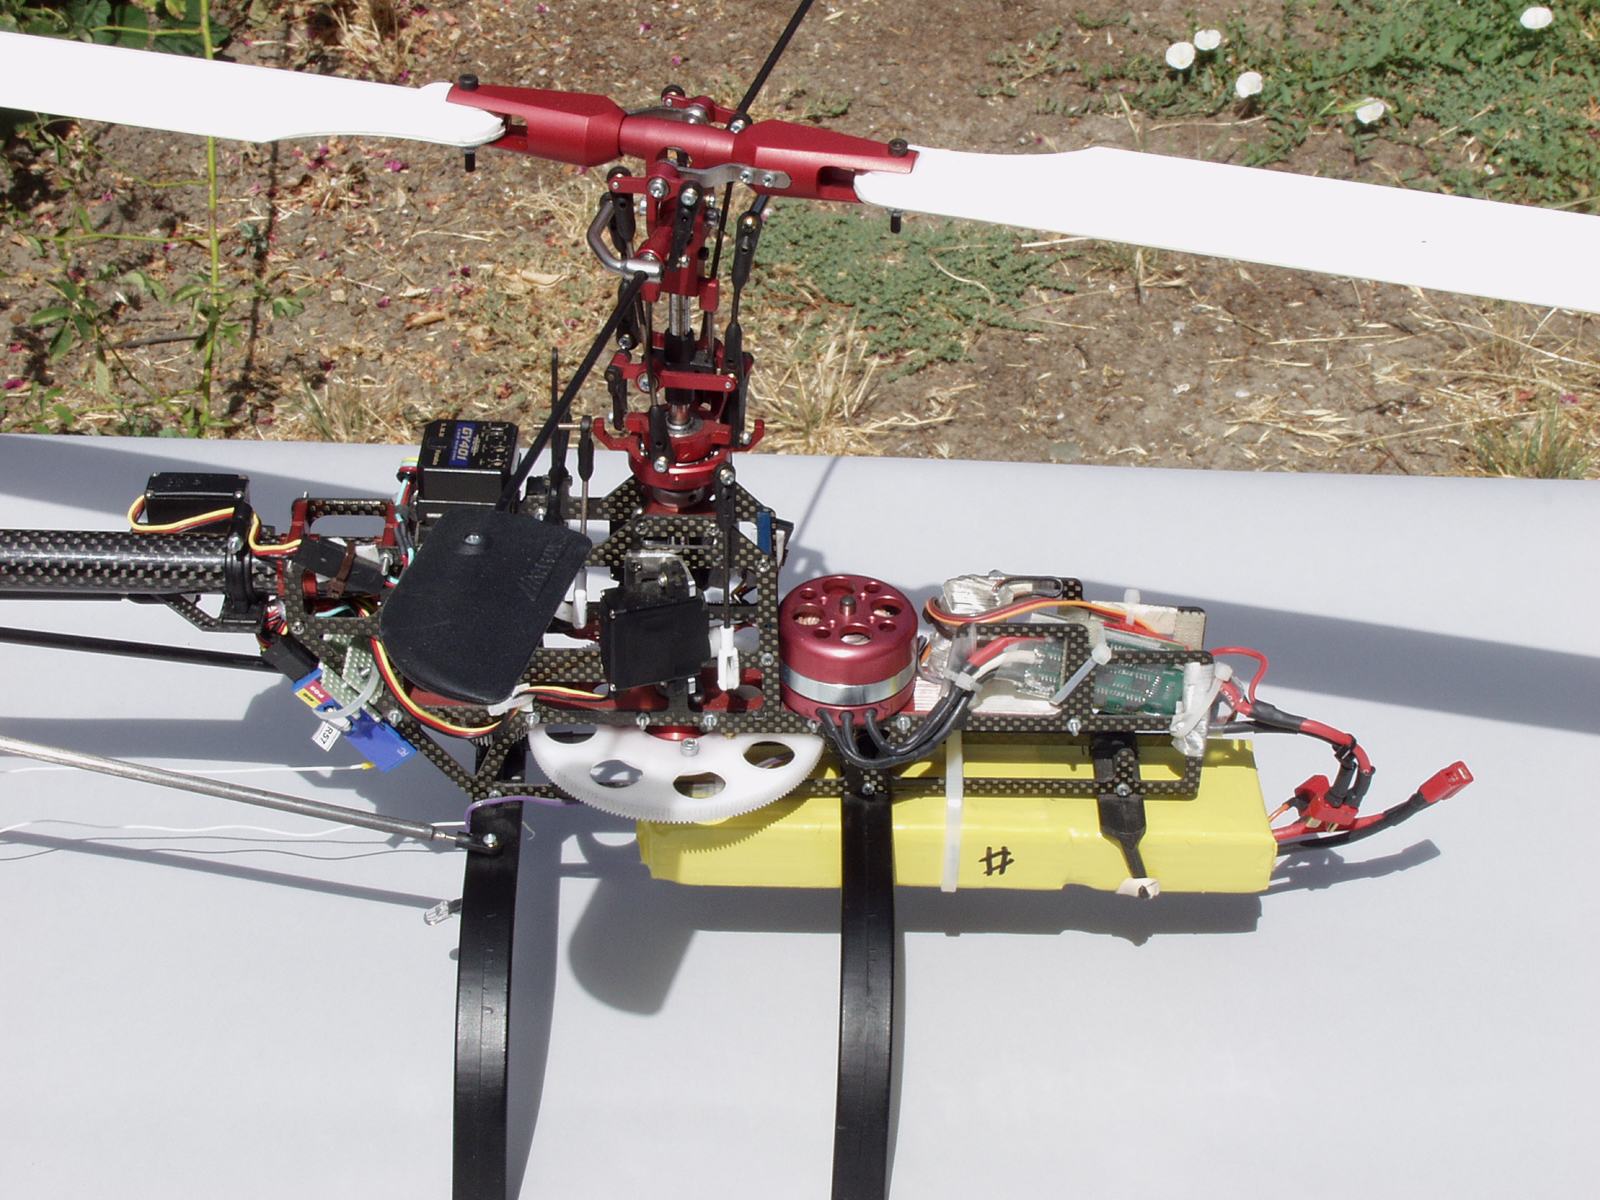
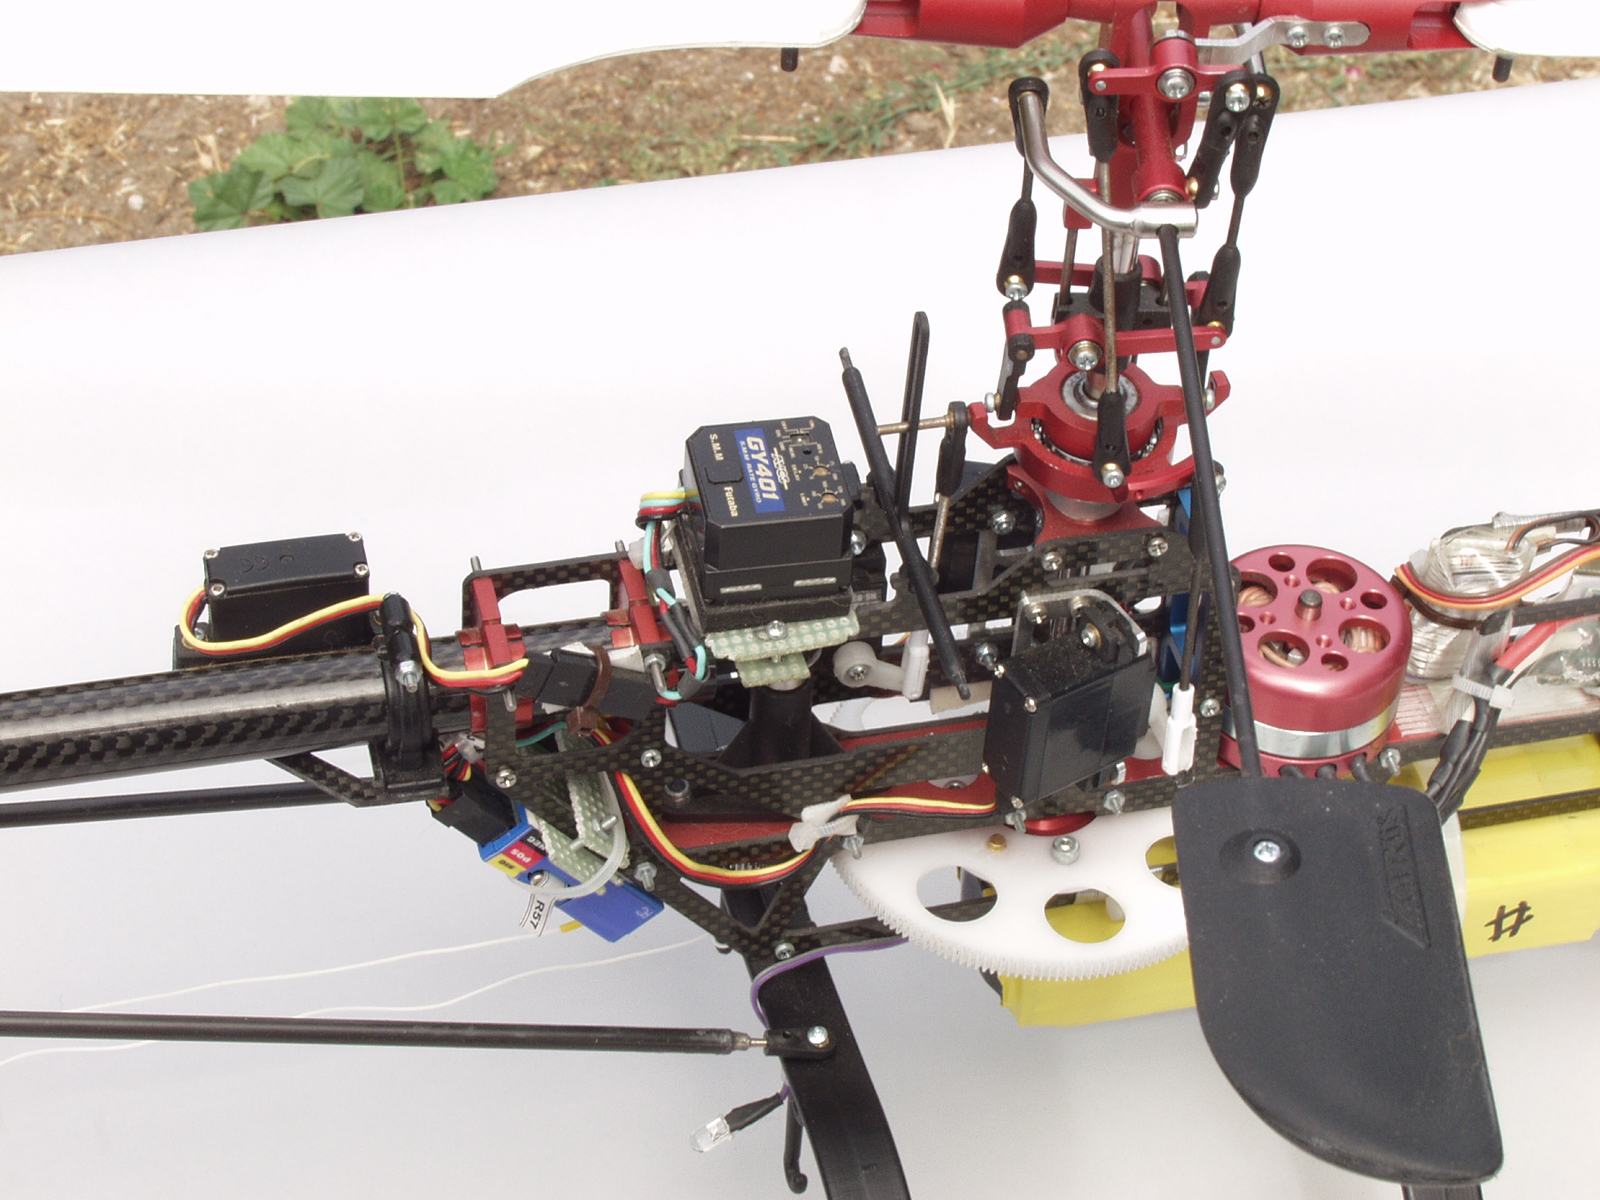
As of August 2004 my ECO 8 #1 had the following parts:
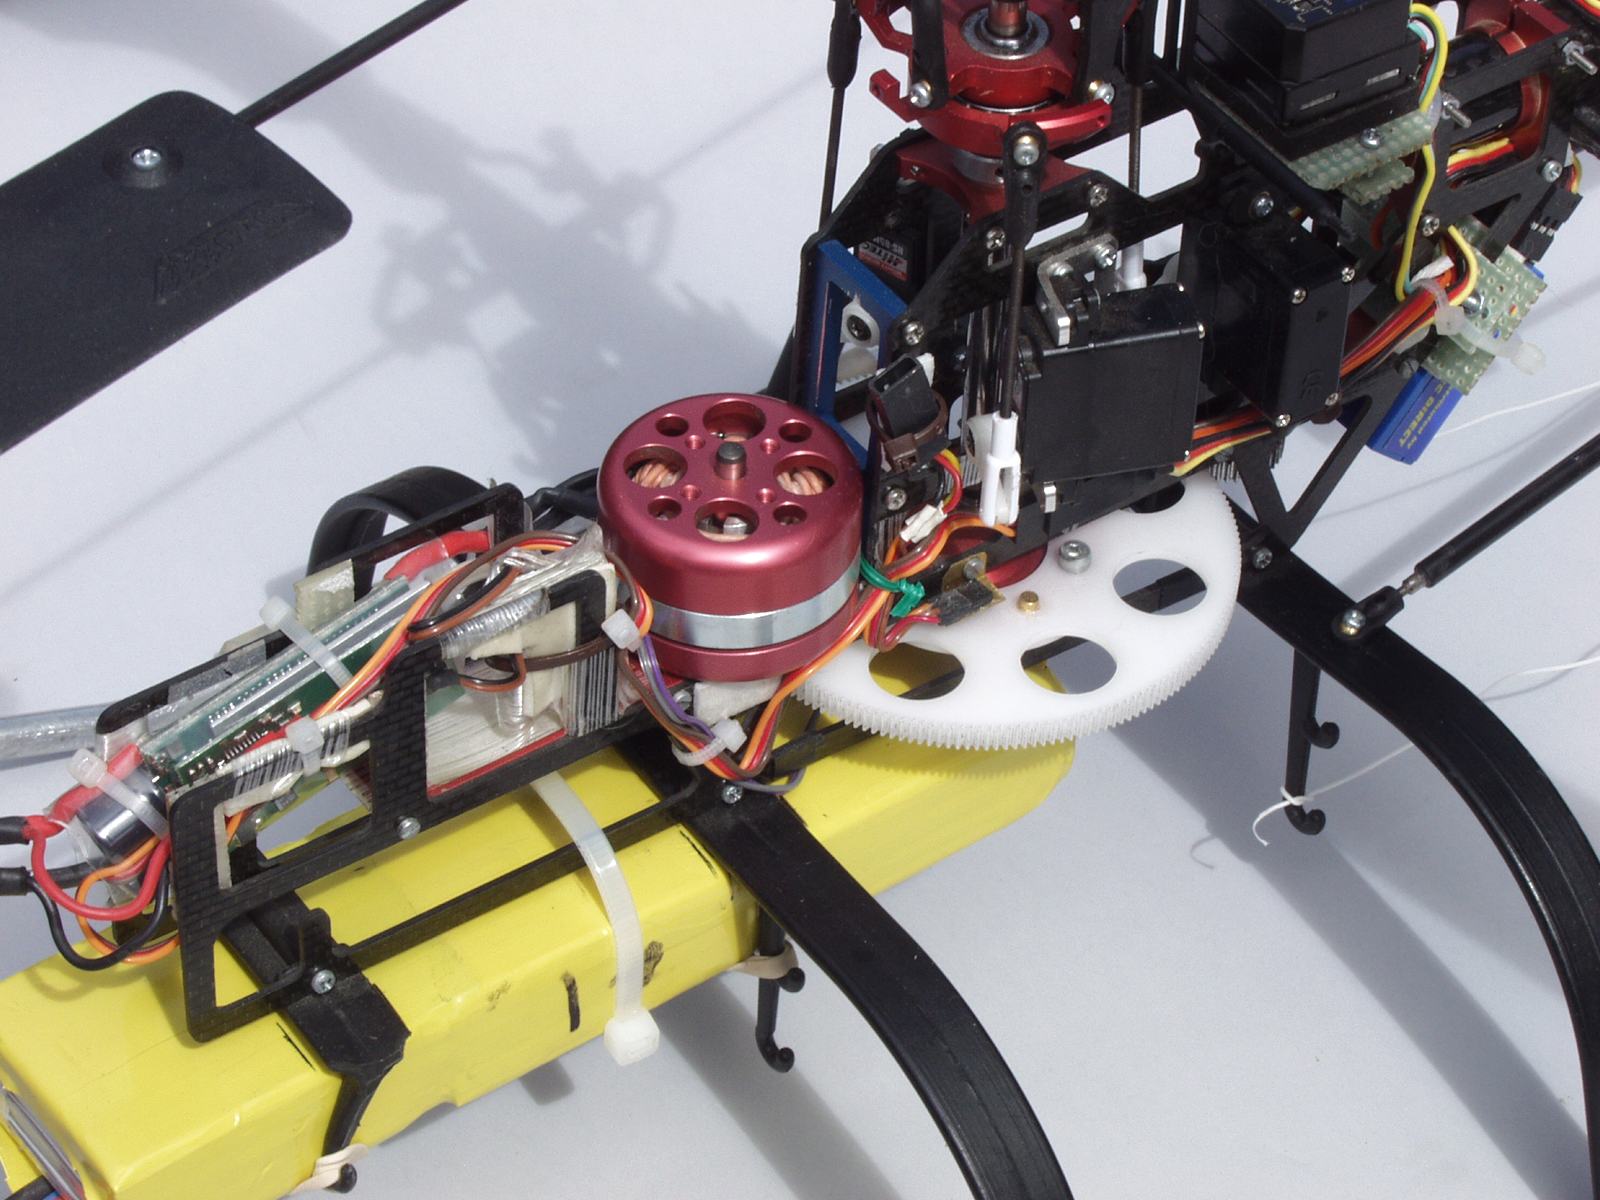
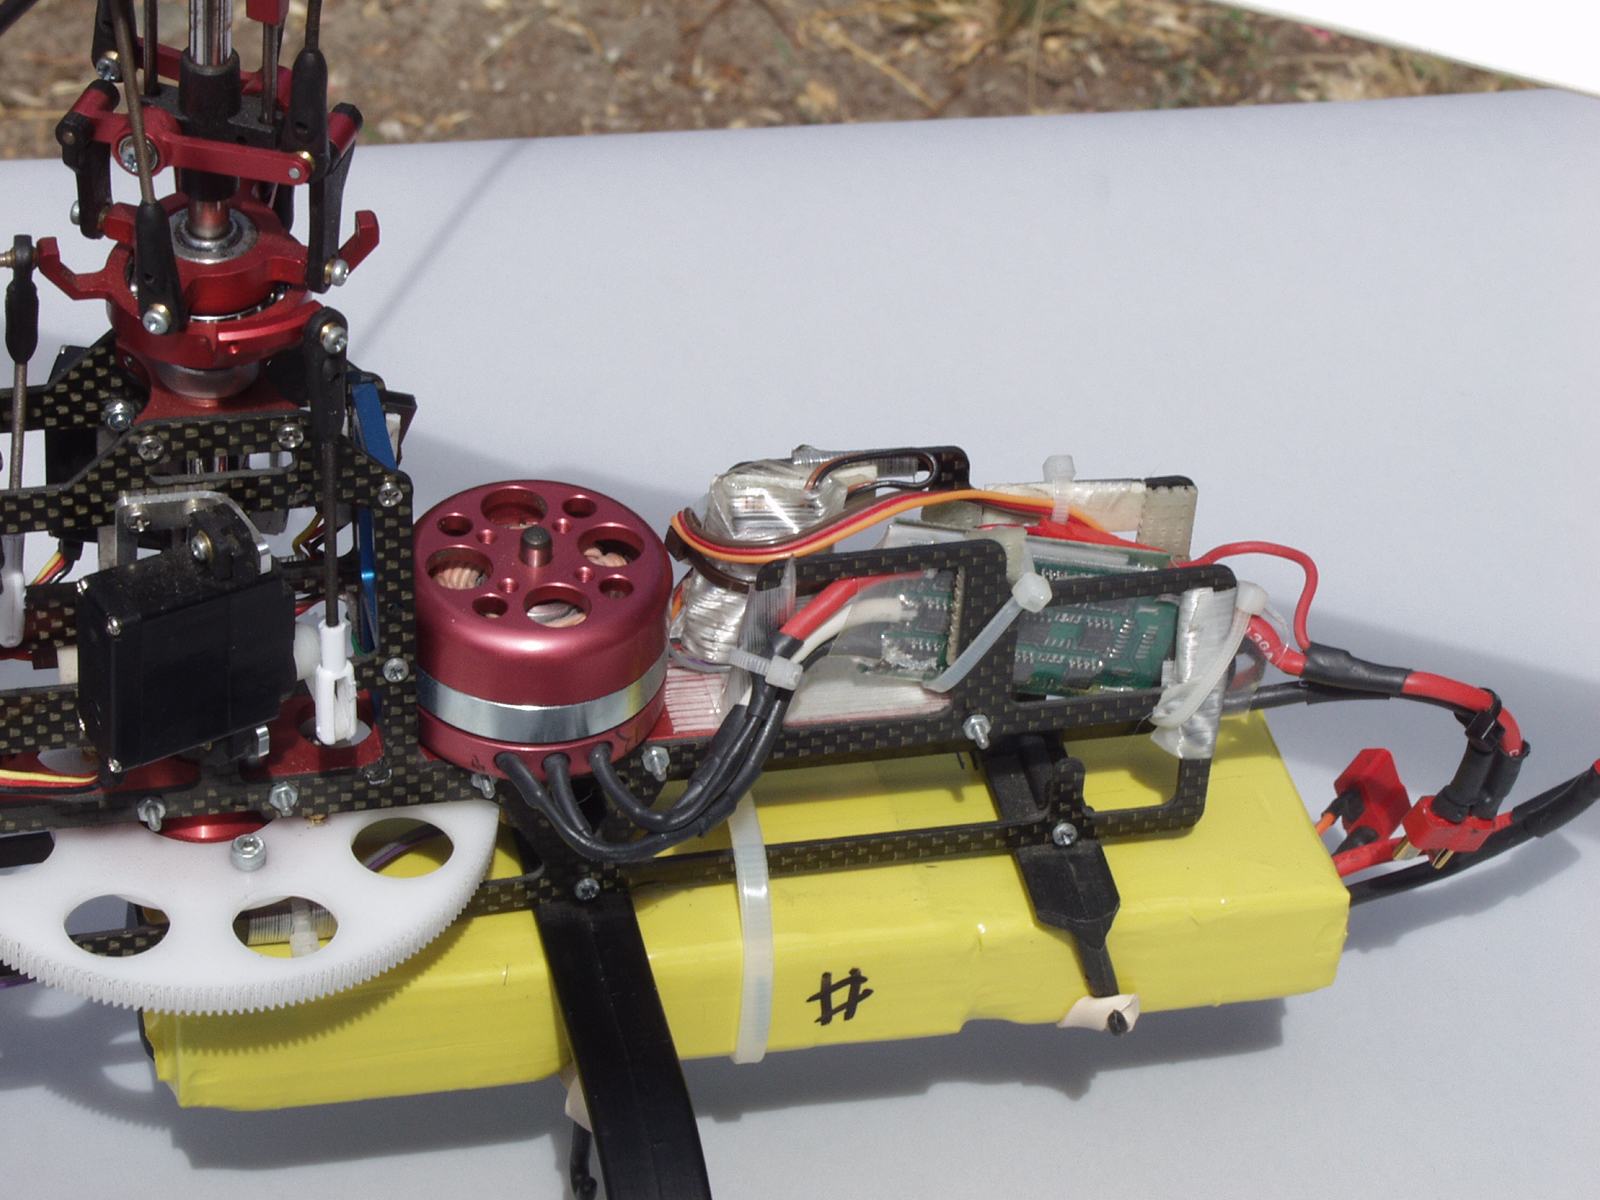
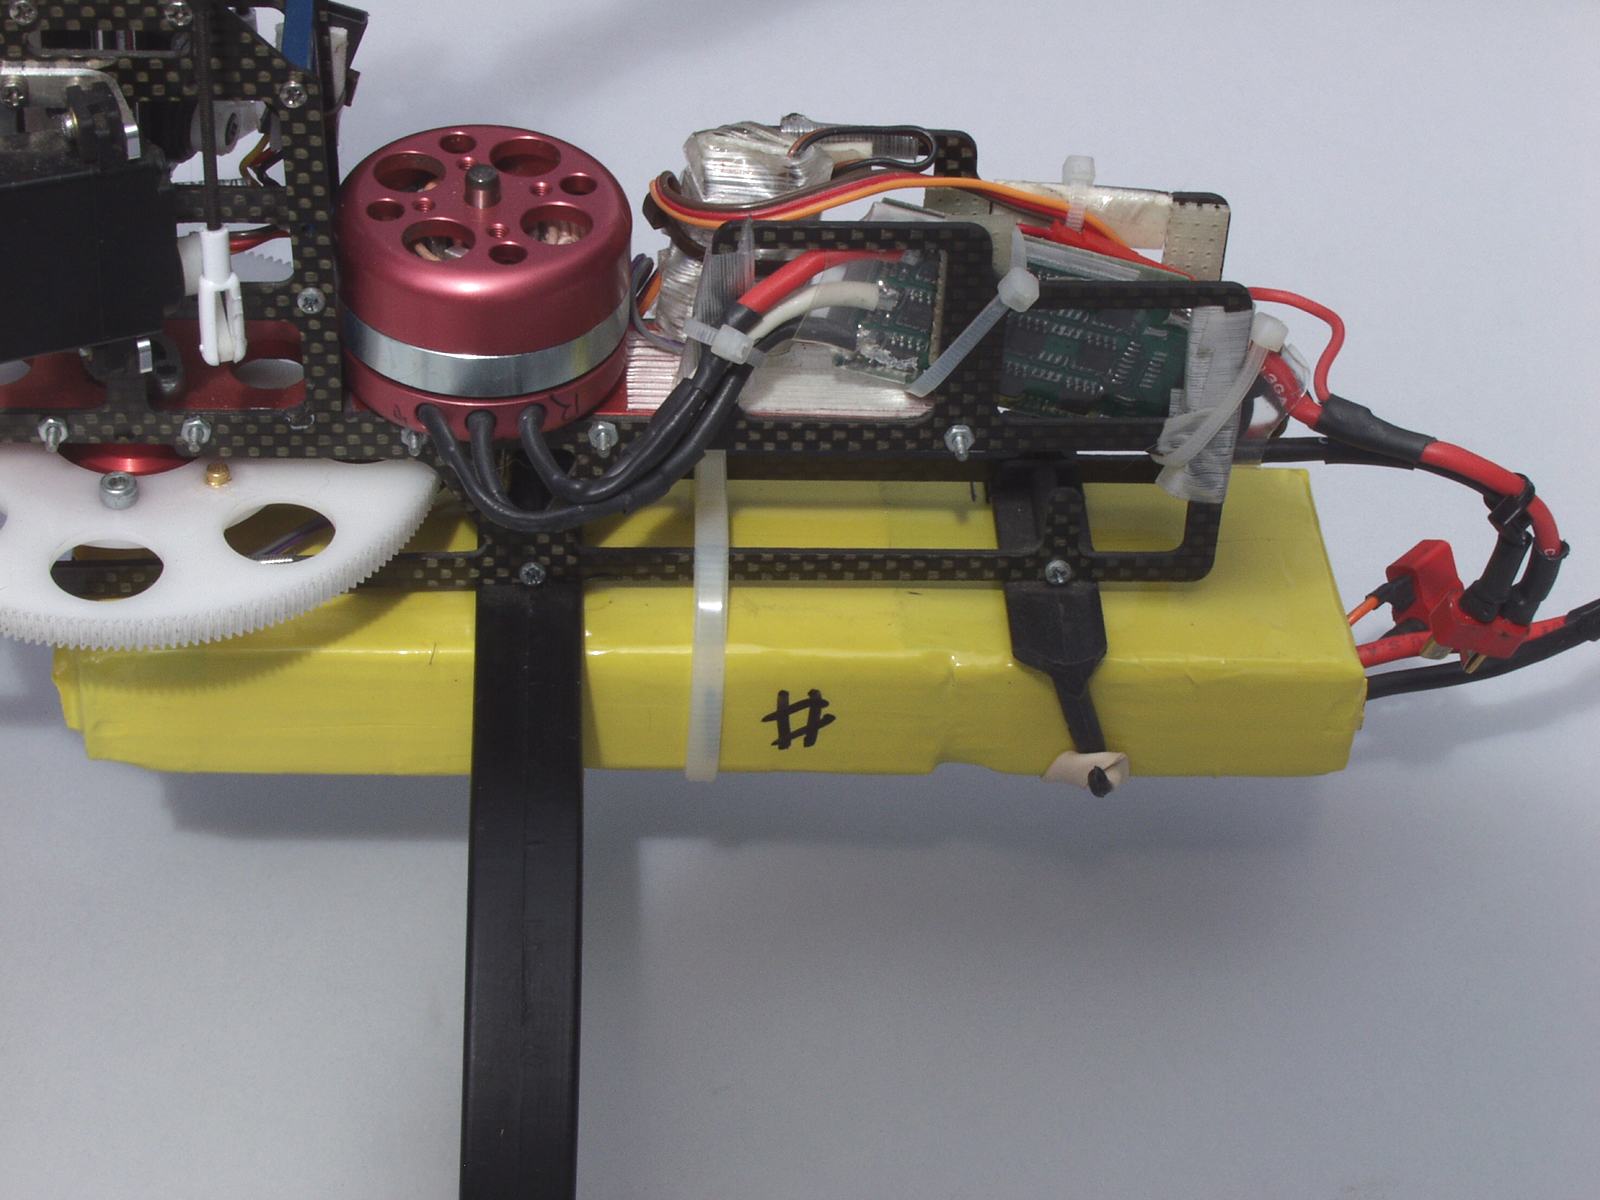
Ikarus H8 brushless motor with 19 or 20 tooth pinion
Castle Creation's Phoenix 60 Electronic Speed Controller
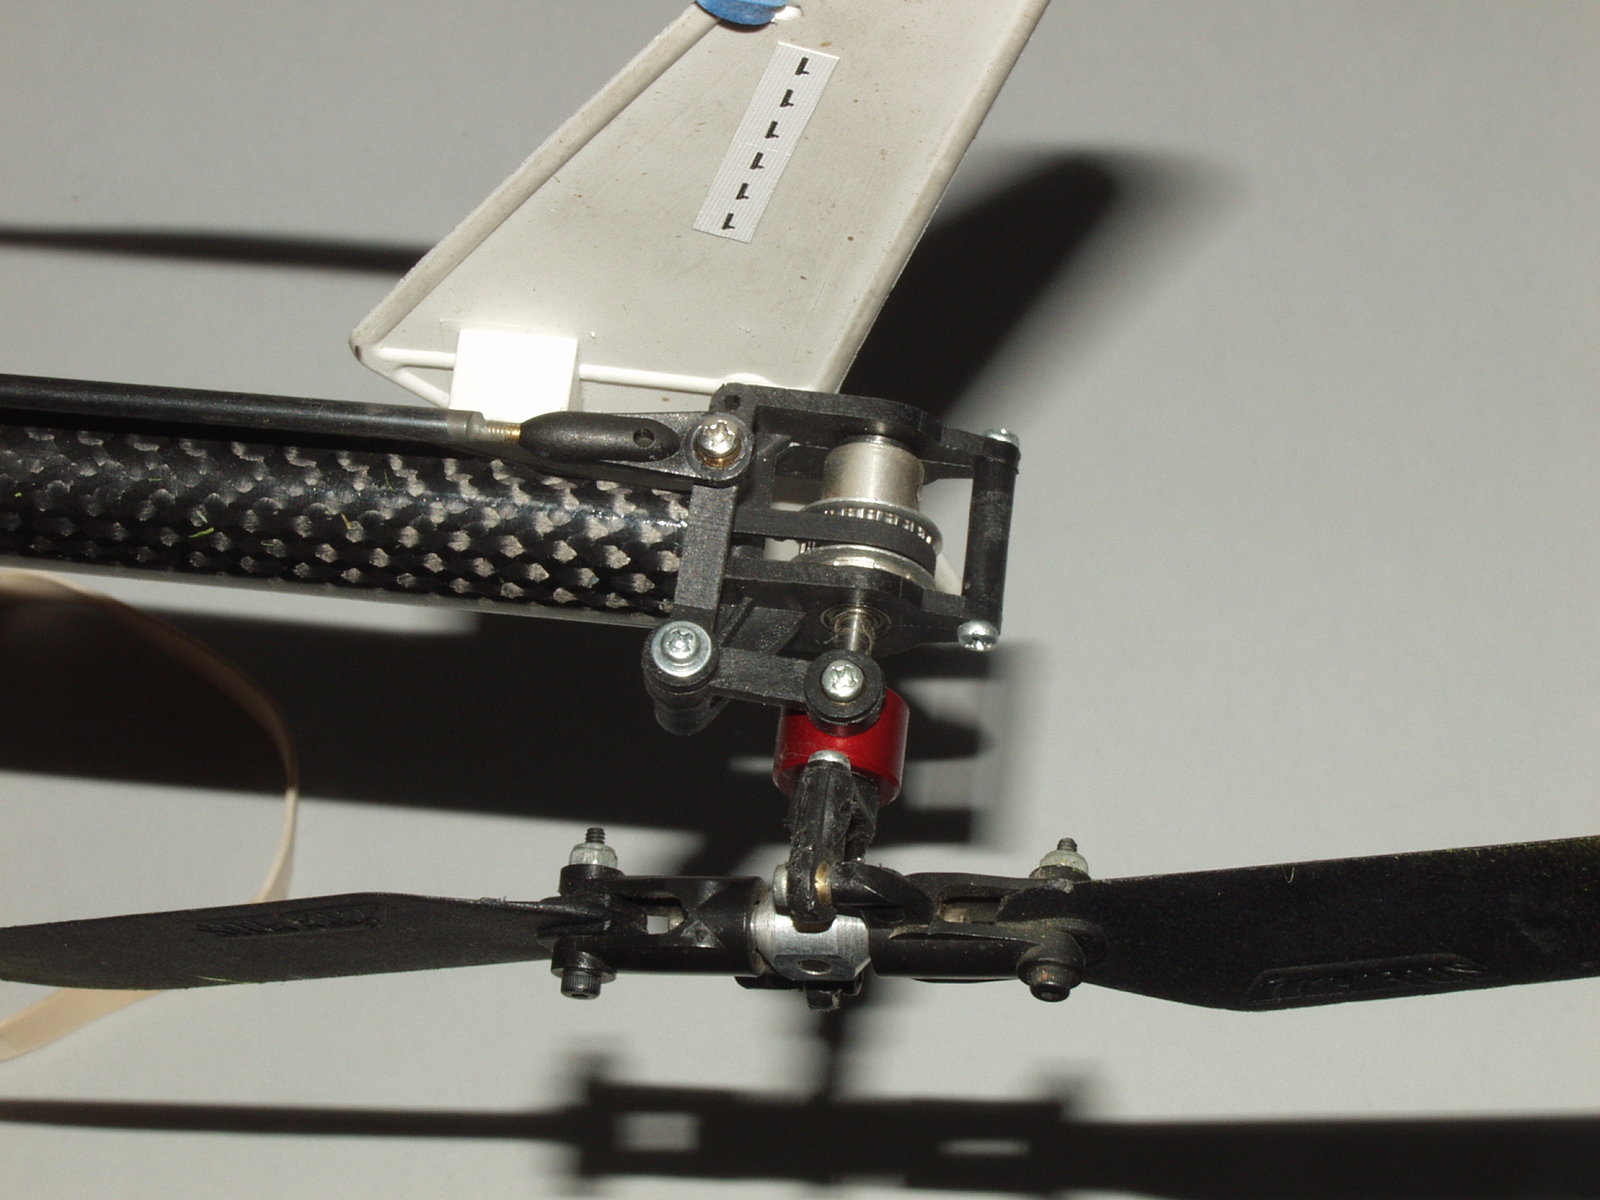
Aluminum head
Aluminum swashplate
Aluminum mixing arms
Aluminum main frame plate
Aluminum main frame upright support plate
Aluminum tail belt pulley set
Aluminum boom mount clamps
Aluminum tail pitch slider
Aluminum upper bearing block
Autorotation main gear bearing
Carbon fiber frame
Carbon fiber boom
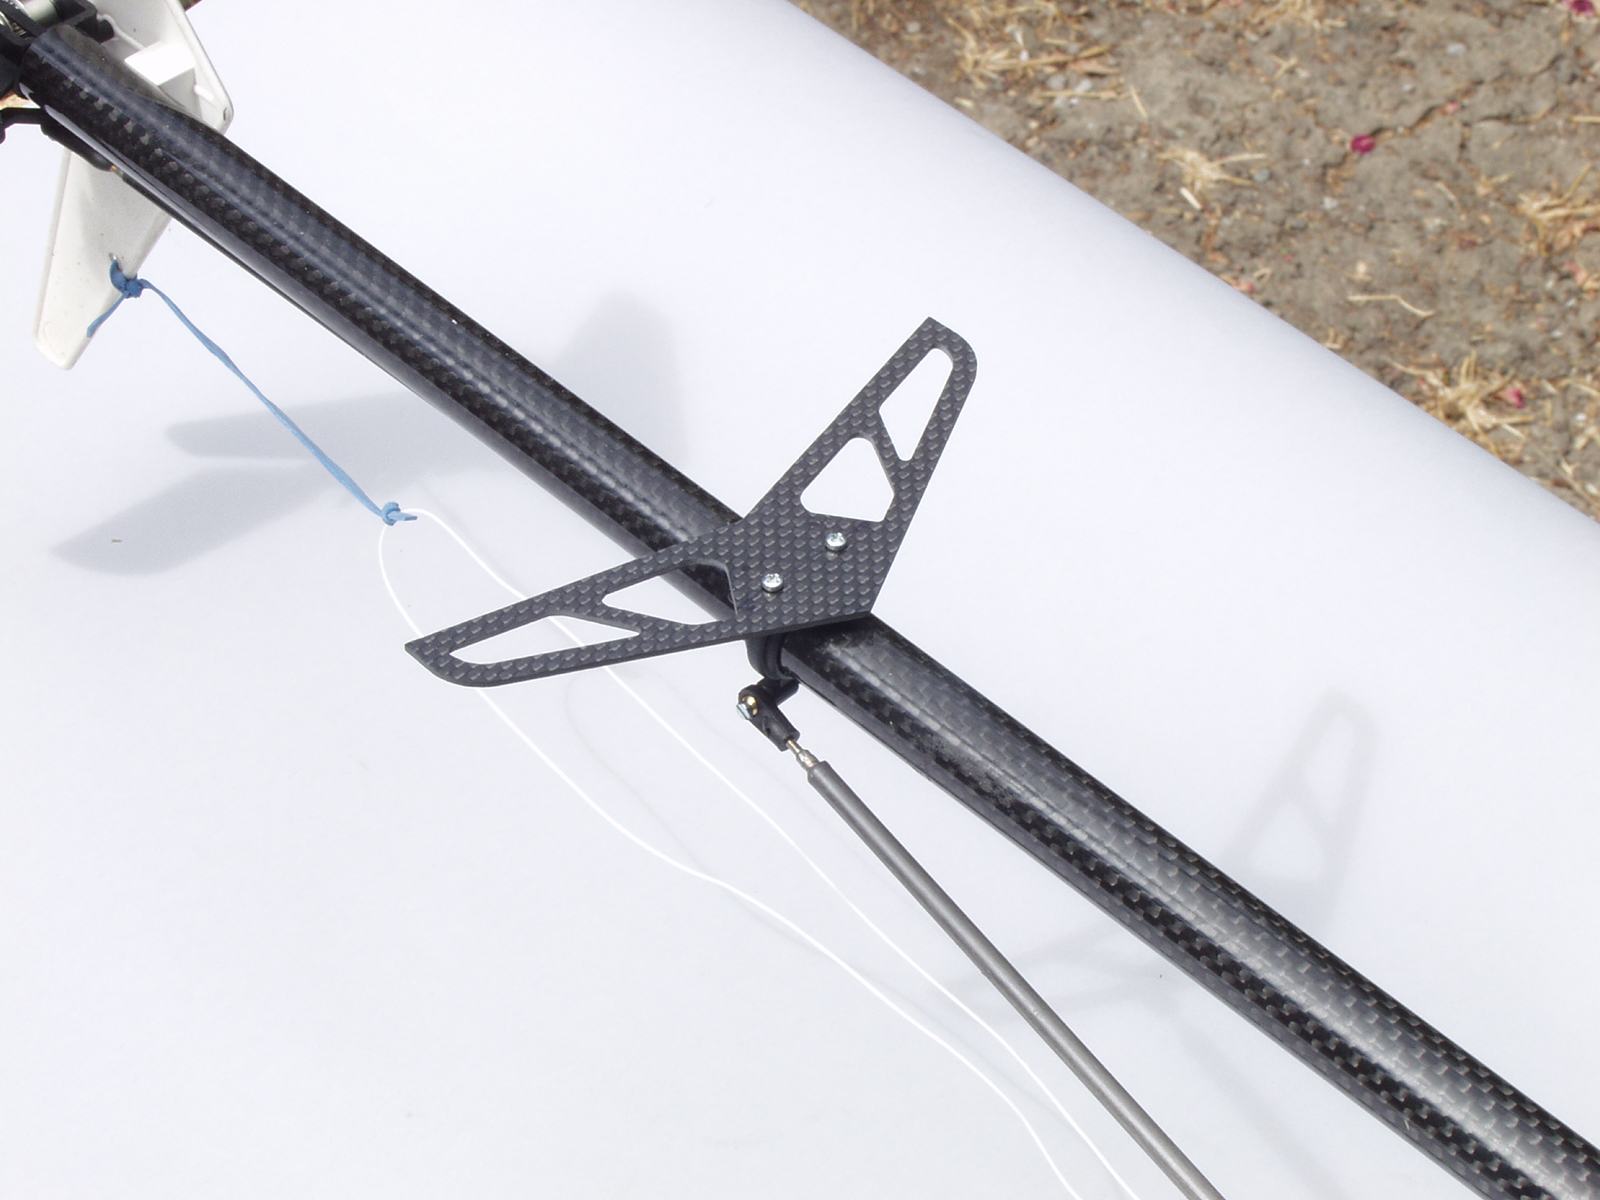
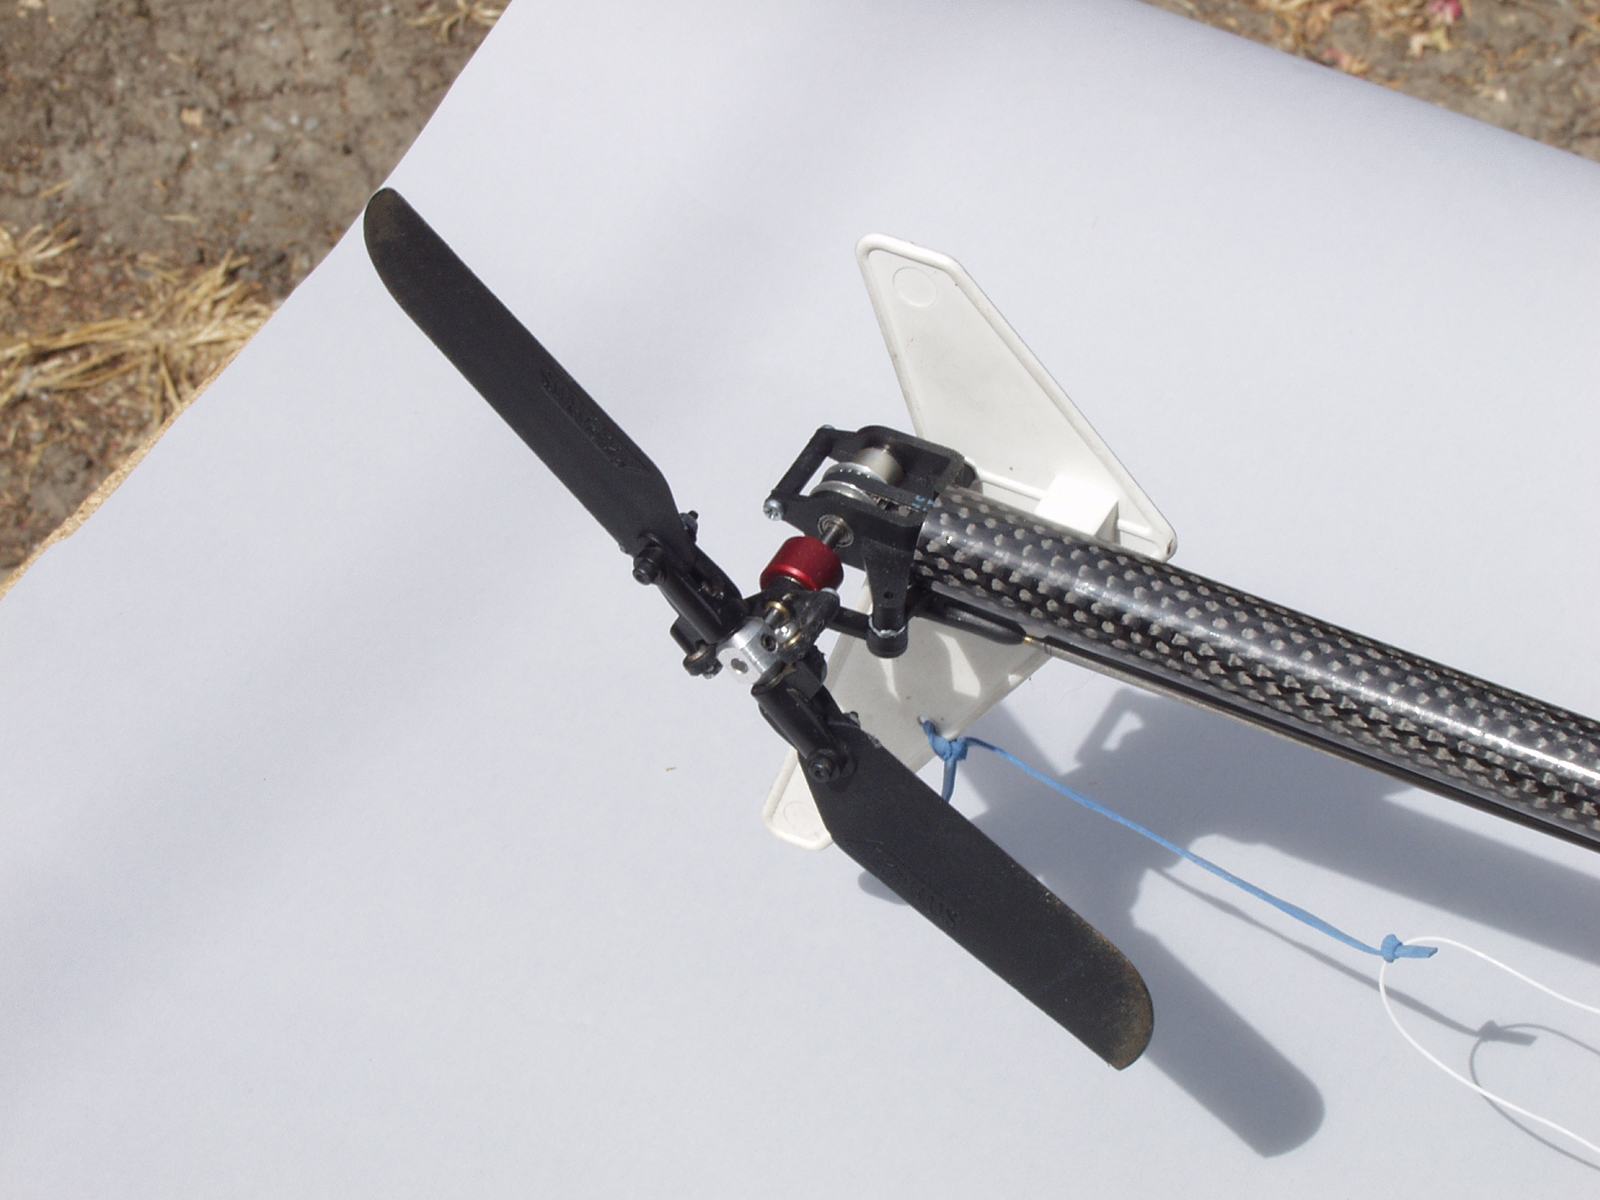
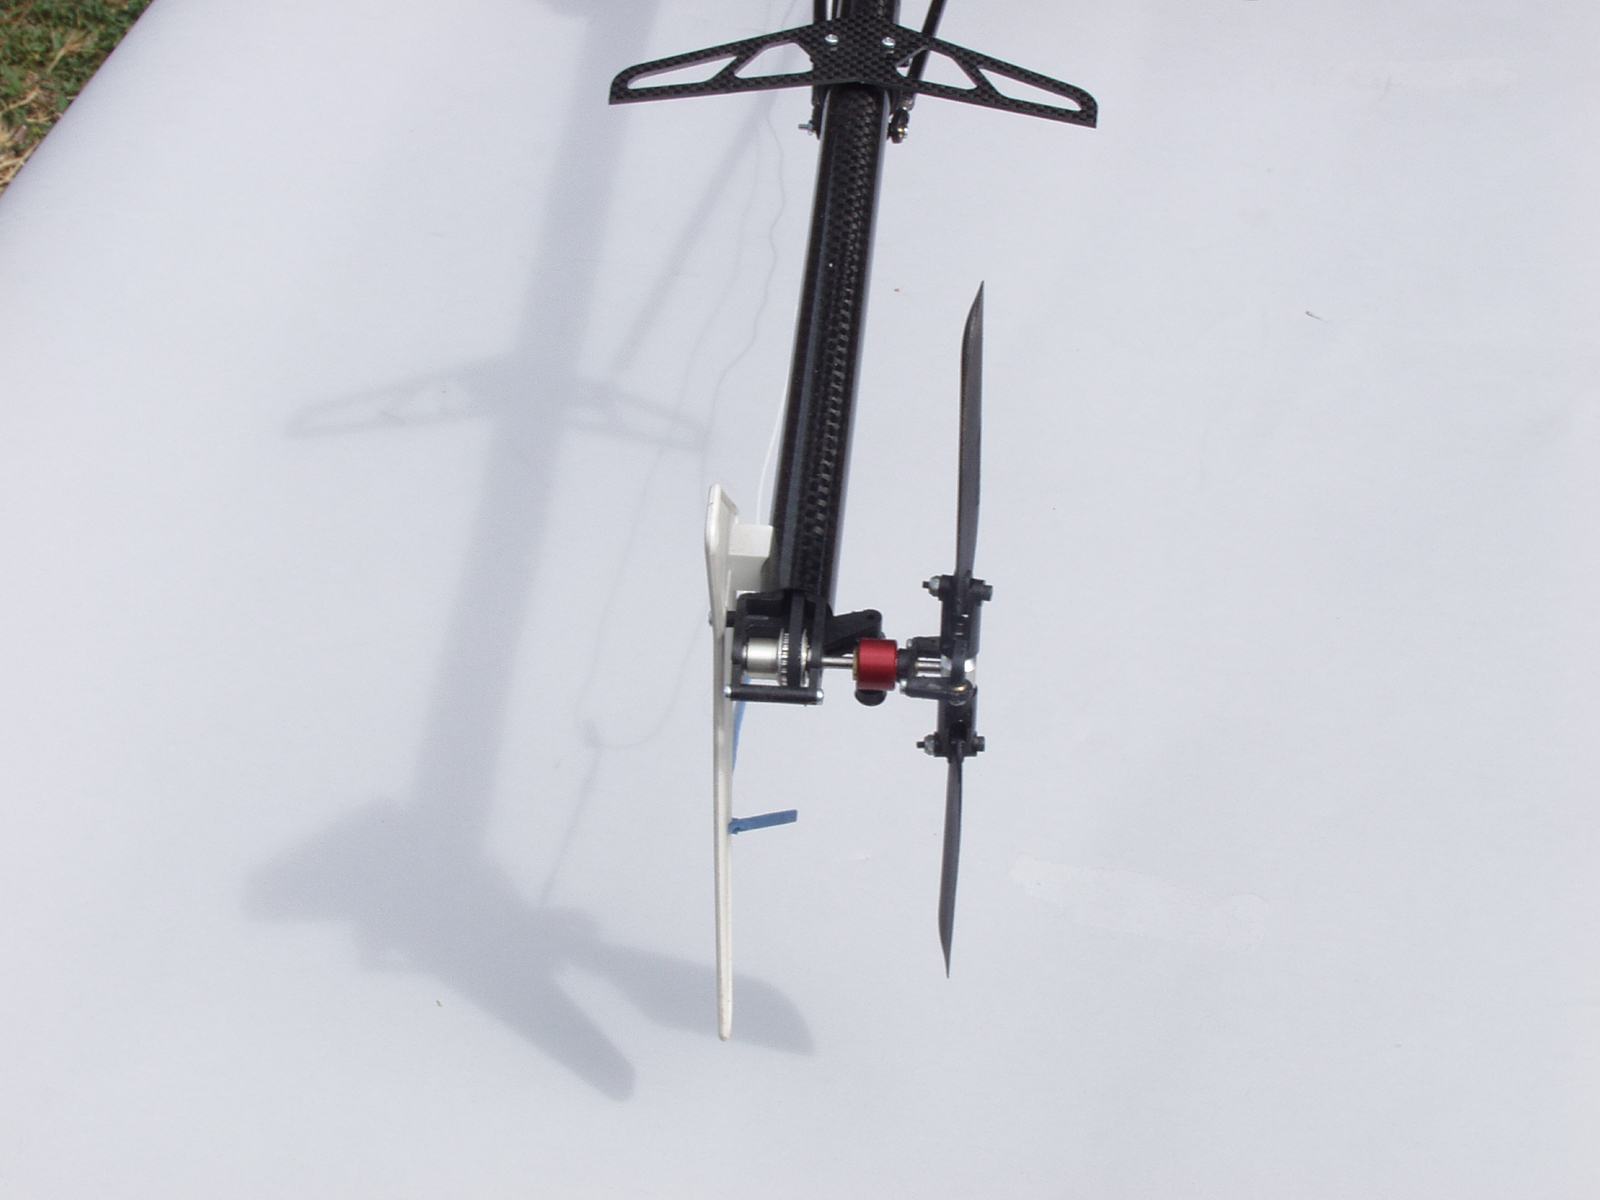
Carbon fiber 3-D fin set
Carbon fiber tail rotor pushrod
Carbon fiber fly-bar
Carbon fiber tail servo mount
Carbon fiber CCPM servo mounts
Carbon fiber tail boom support
Hardened main rotor, feather and tail rotor shafts
Futaba GY401 gyro
Extra wide landing gear
Glass fiber rotor blades (Ikarus PN 67151)
Hitec HS85MG for the swashplate and HS81MG for the tail (Changed to S9650)
Li-Poly Battery packs (Thunder Power 3S4P TP-8000, homemade 3S4P and 3S5P)
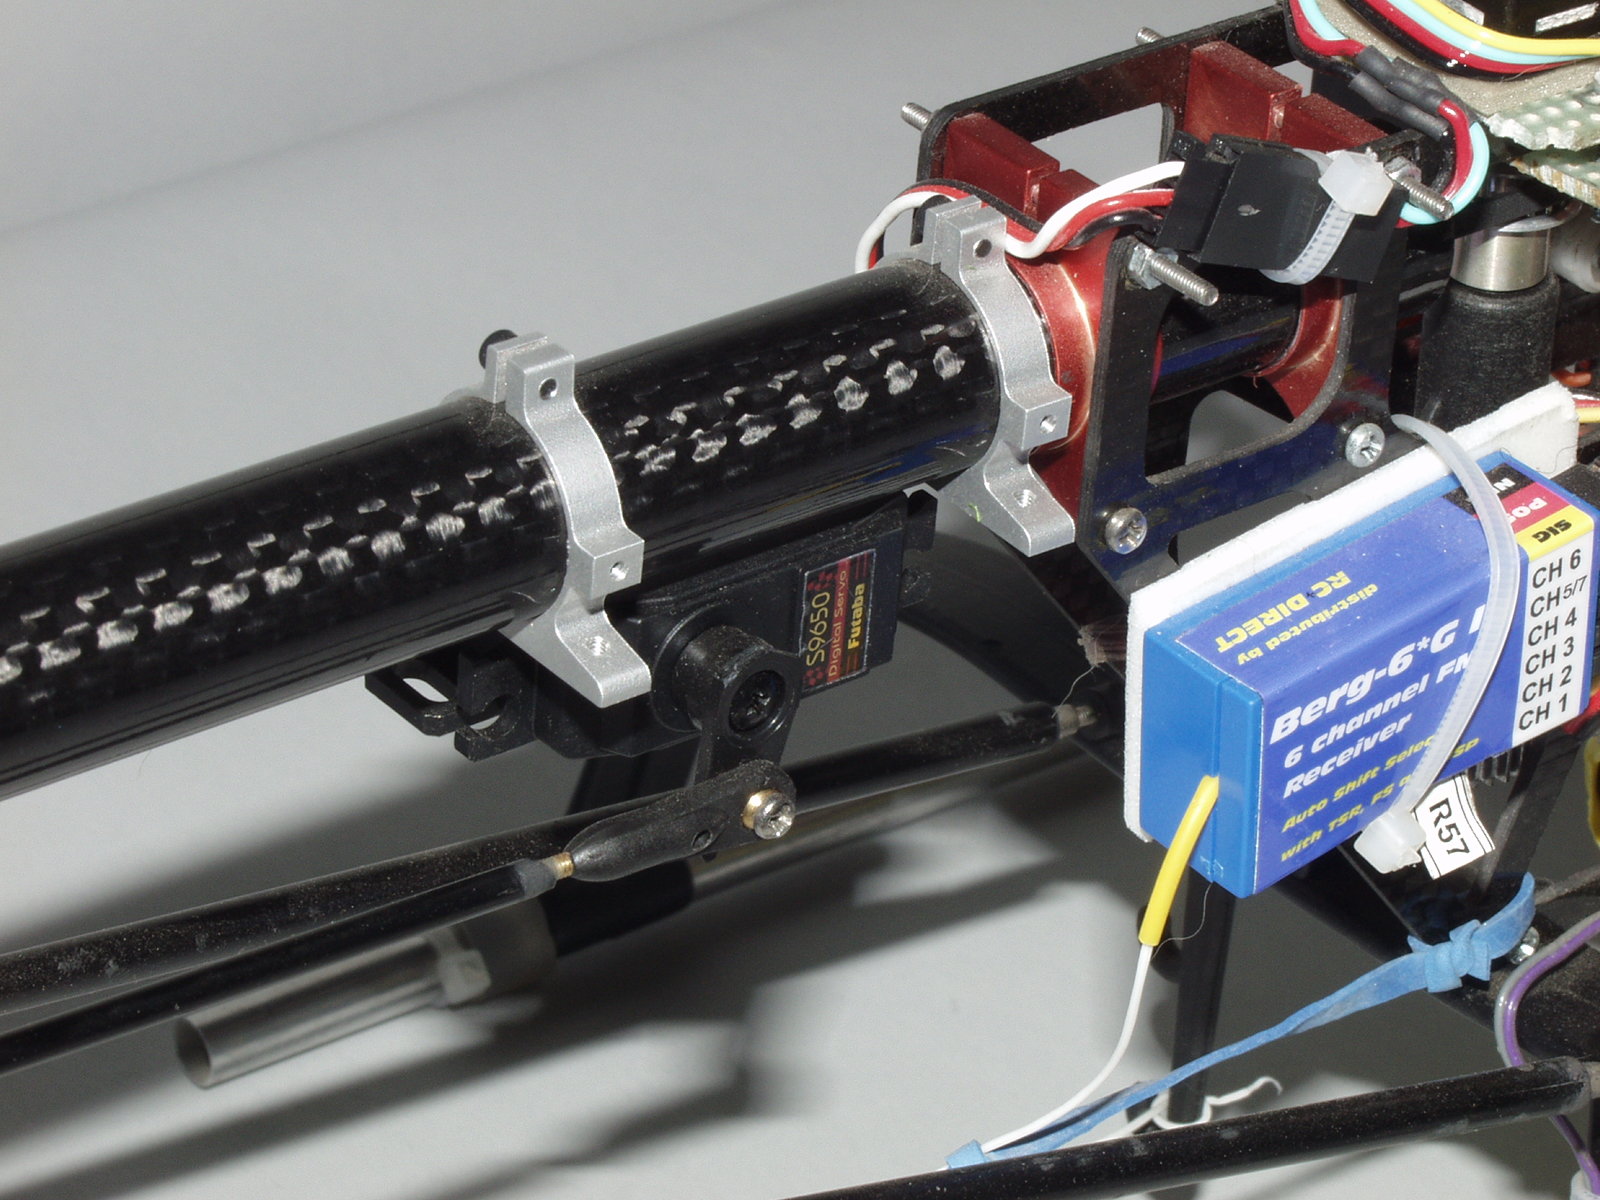
Berg-6* G III 6 channel DSP receiver
Hitec Eclipse 7 transmitter
Addition information:
Weights:
Ready to Fly including canopy and 1st generation TP-8000 battery: 1536 grams (3.4 lbs or 54 oz)
Without battery and canopy: 1,020 grams (2.25 lbs or 36.1 oz)
Battery - 1st generation Power TP-8000 (3S4P): 474 grams (1.04 lbs or 16.7 oz)
Battery - 2nd generation Thunder Power TP-8000 (3S4P): 547 grams (1.2 lbs or 19.3 oz)
Pre-made unpainted canopy: ~42 grams (1.5 oz)
Current Weight as of 01/12/05 with S9650 tail servo and In-Flight Datalogger: 1594 grams
Headspeed:
With a 20 tooth pinion I am getting a headspeed of ~1700 with a fully charged TP-8000 (3S4P) battery. See
Flight Times:
About 26 minutes using the Thunder Power TP-8000 (3S4P) batteries
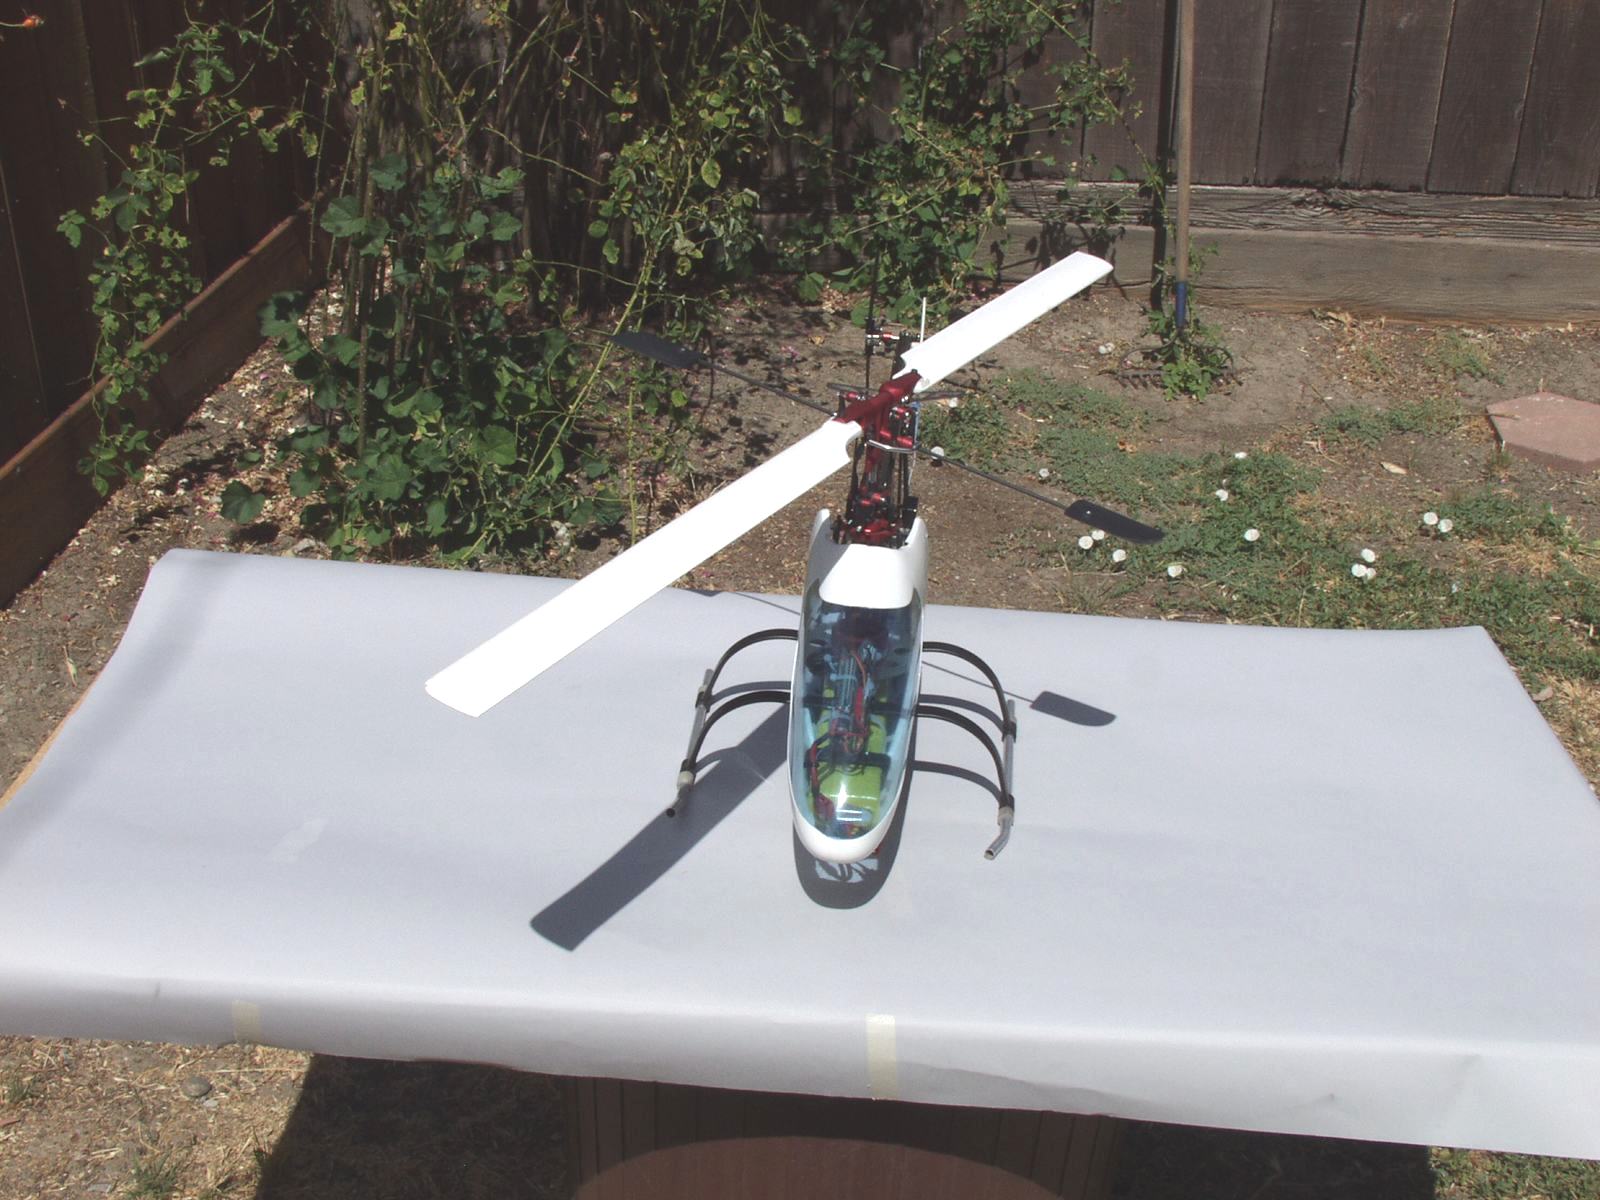
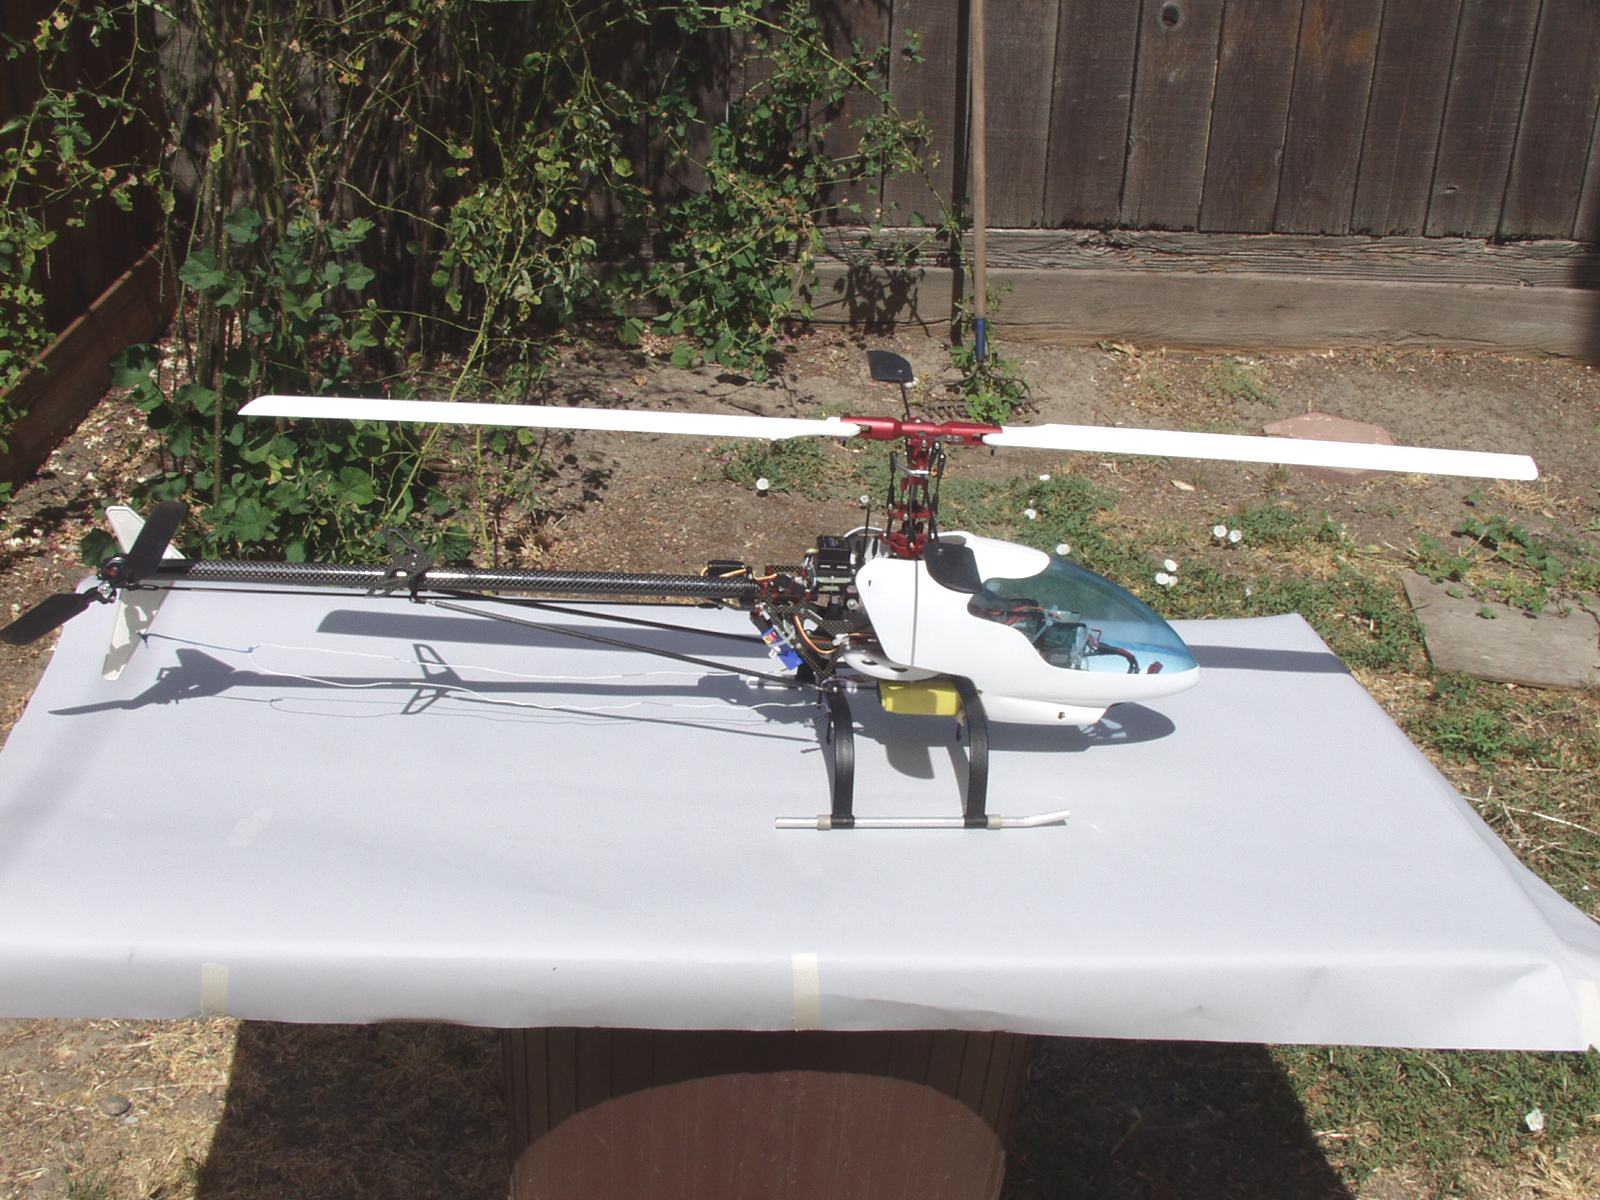
Here are some photos of my ECO 8 #1 Helicopter. Click on any picture below to see a higher resolution image.

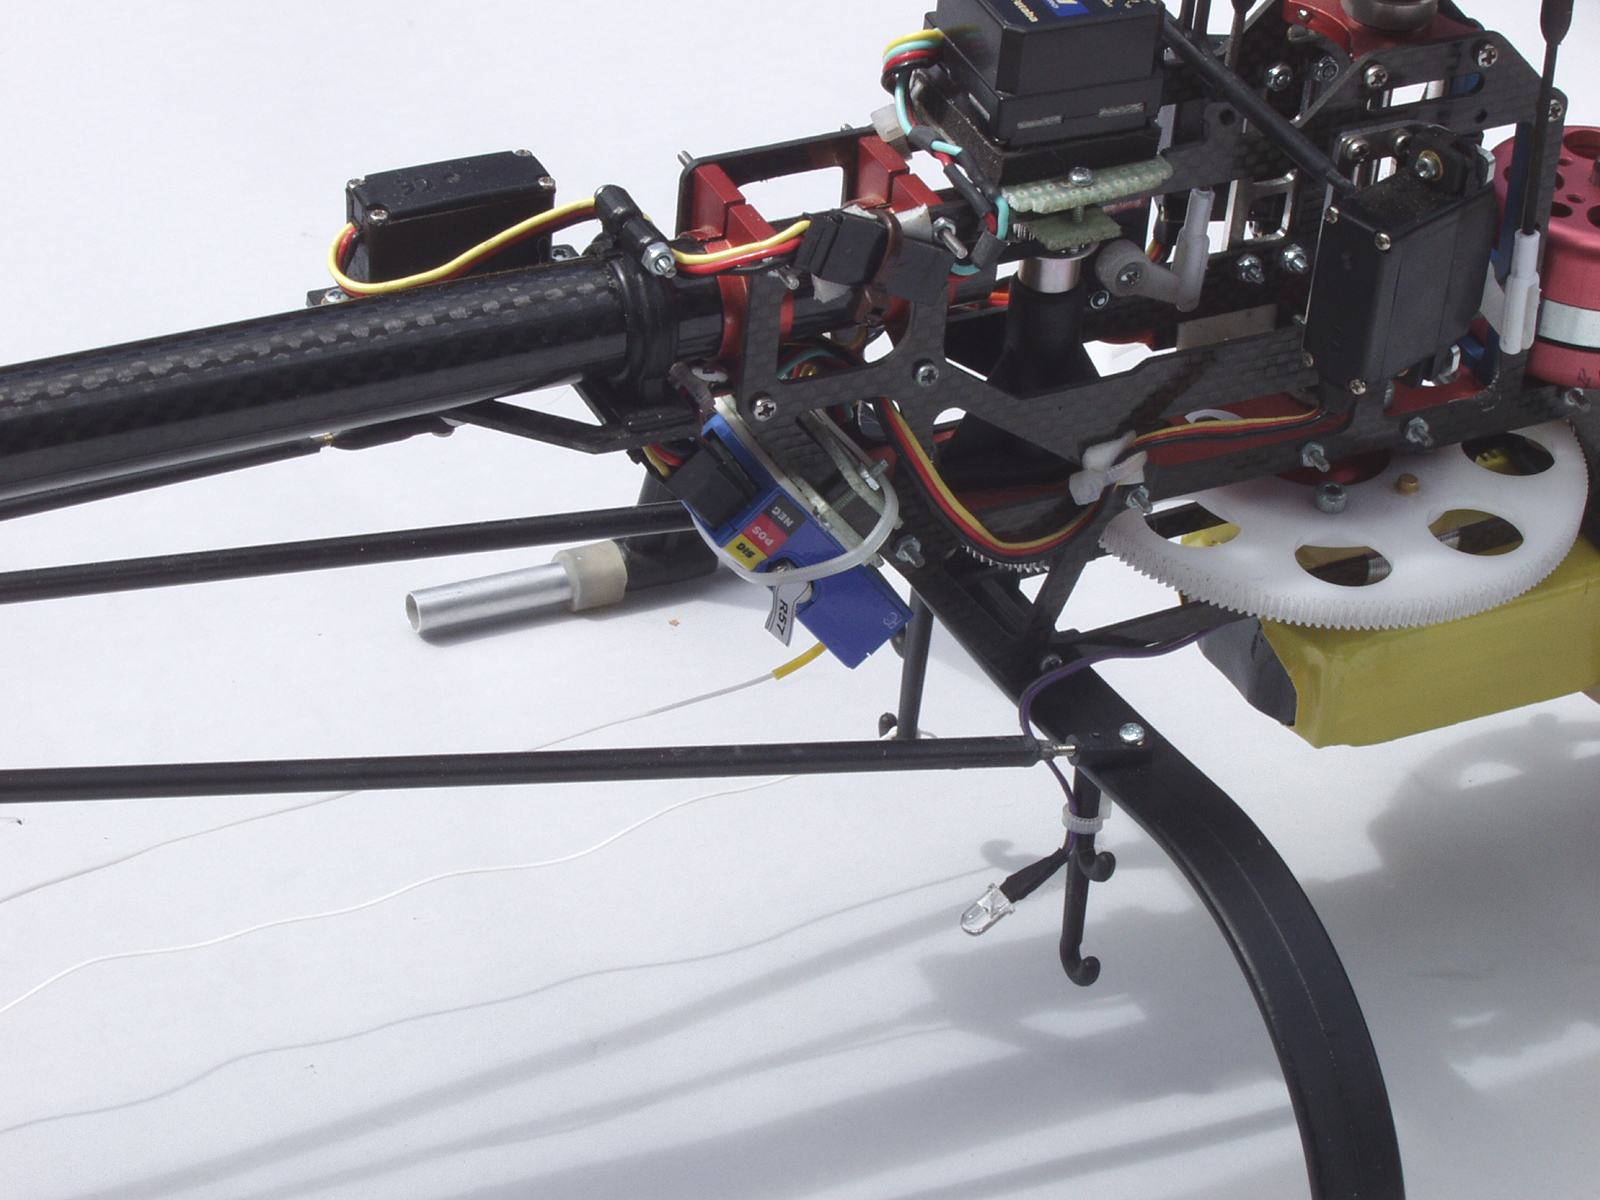
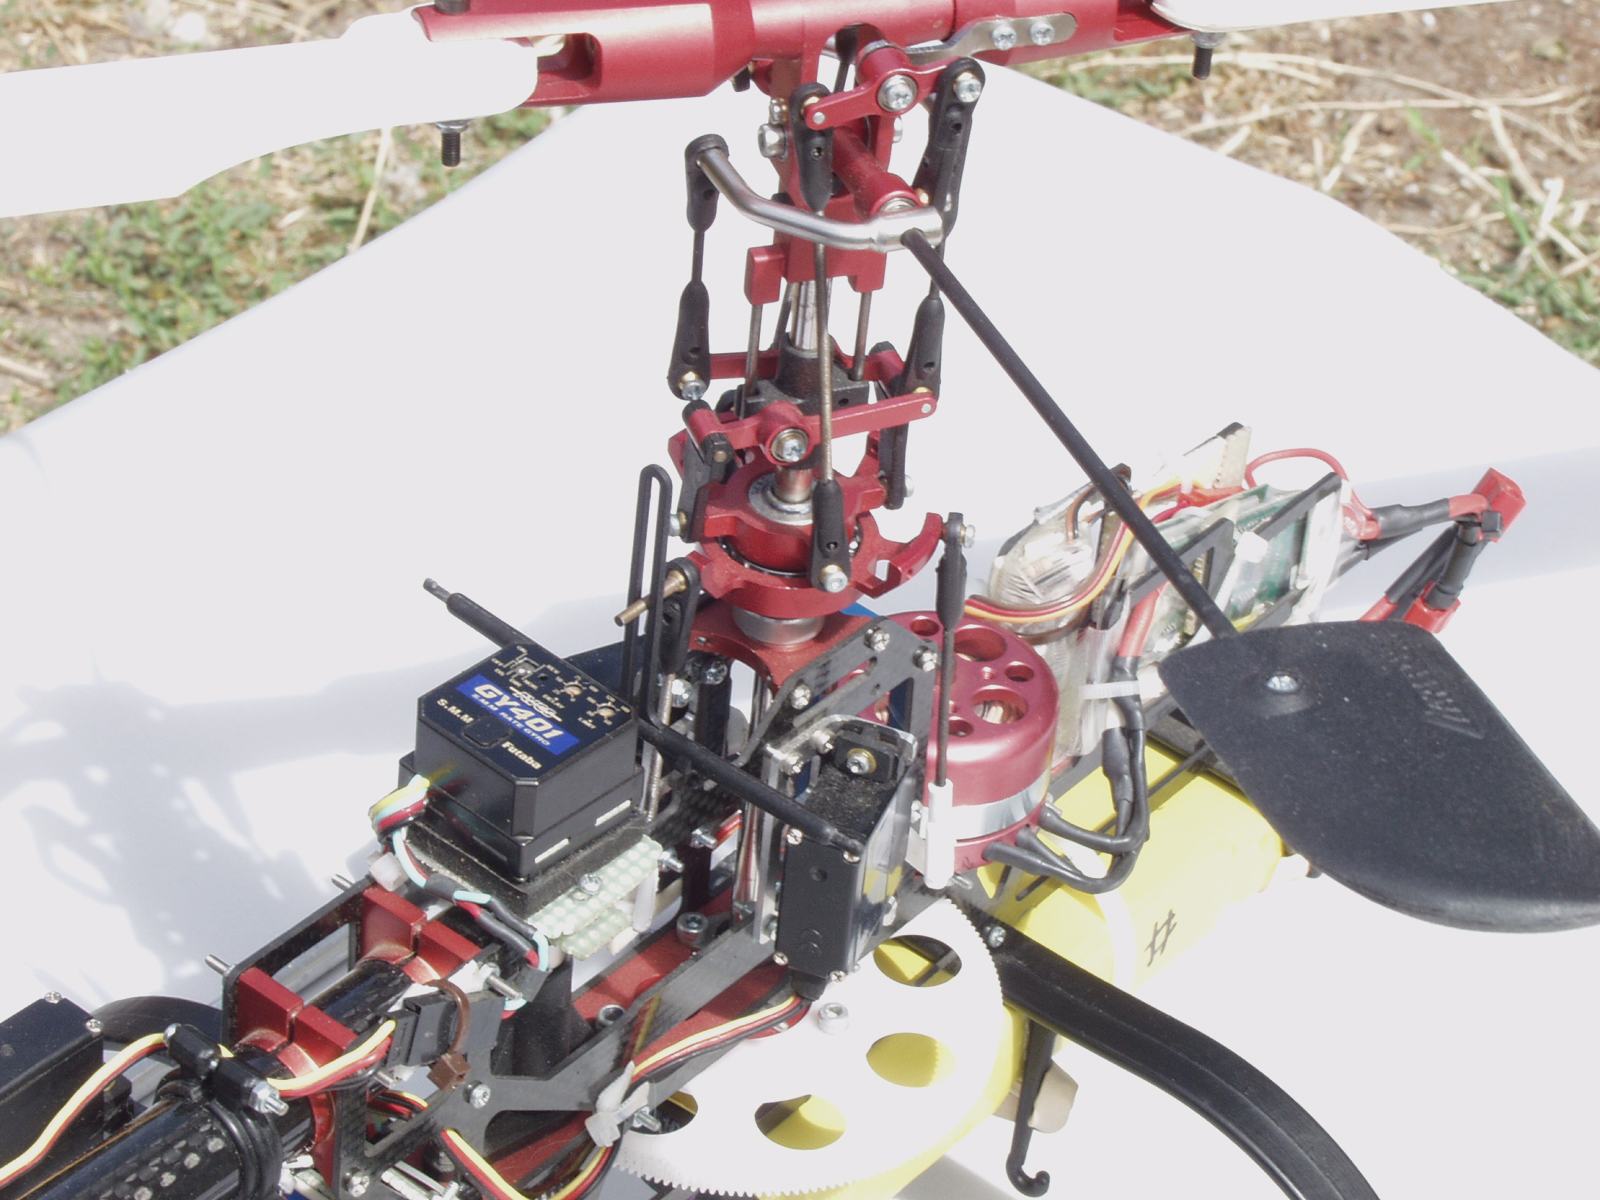
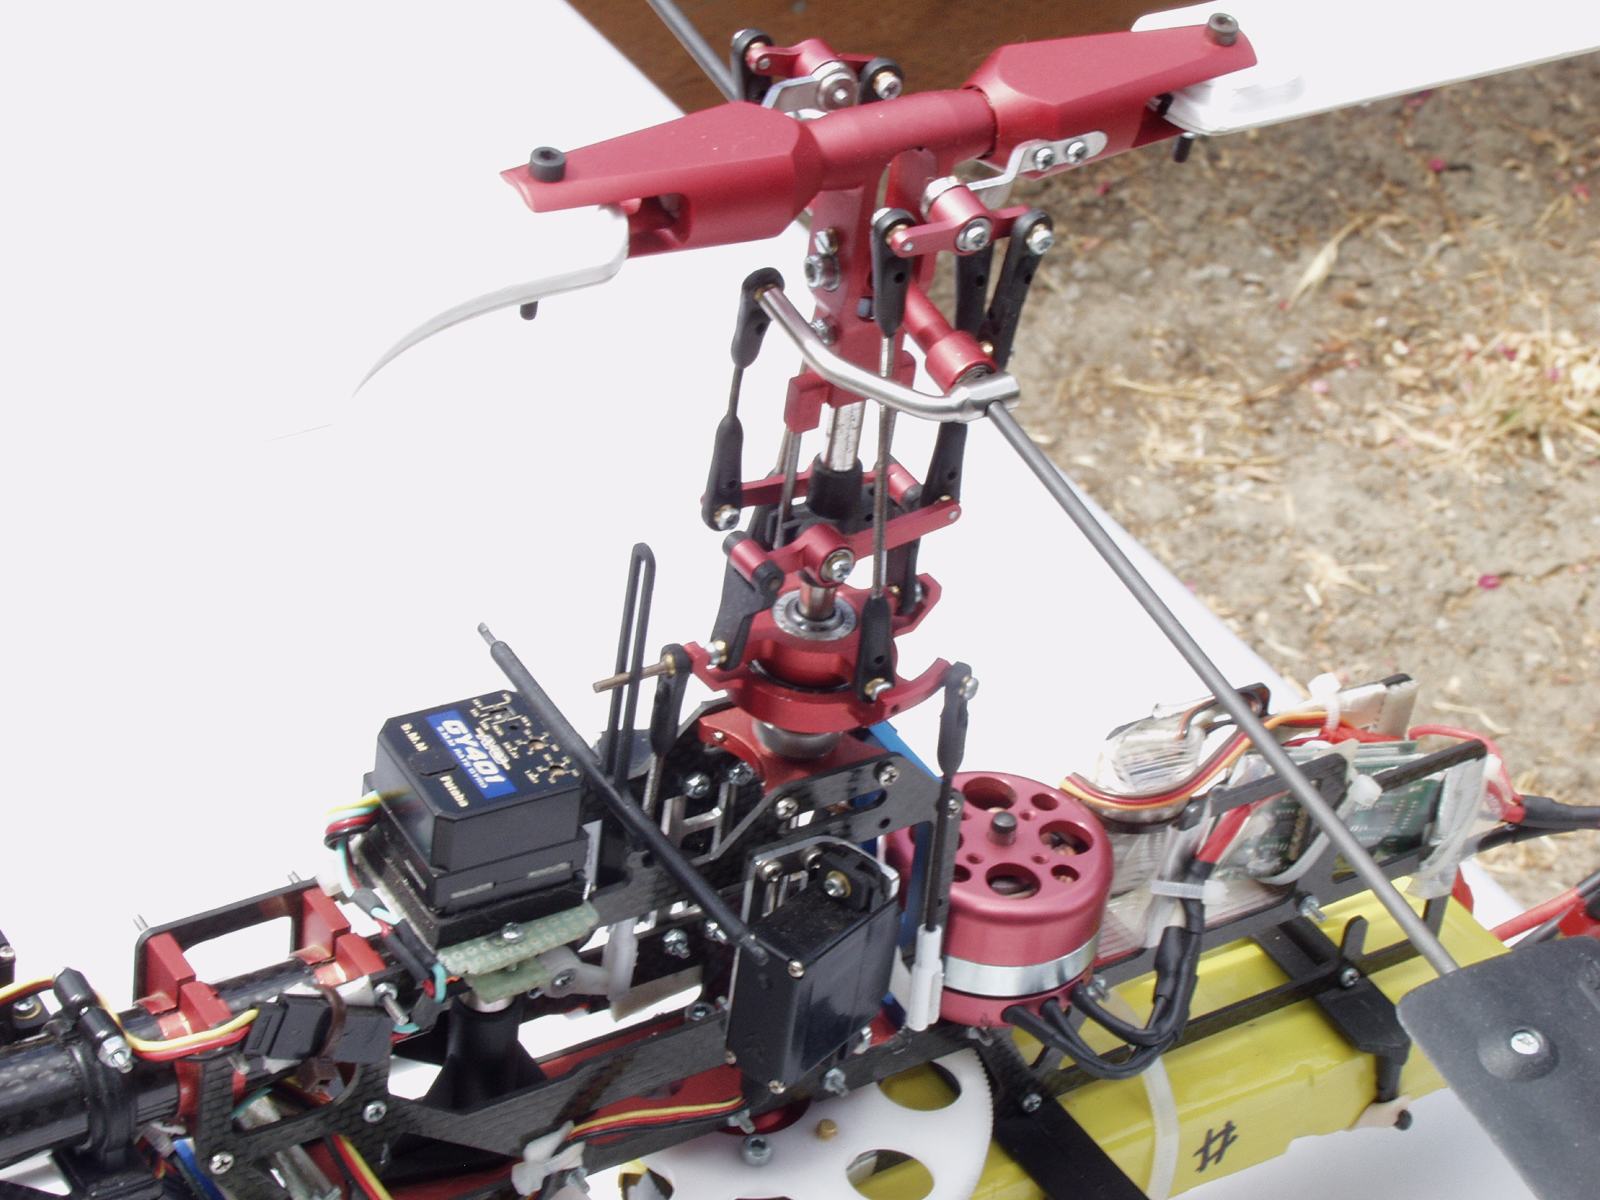
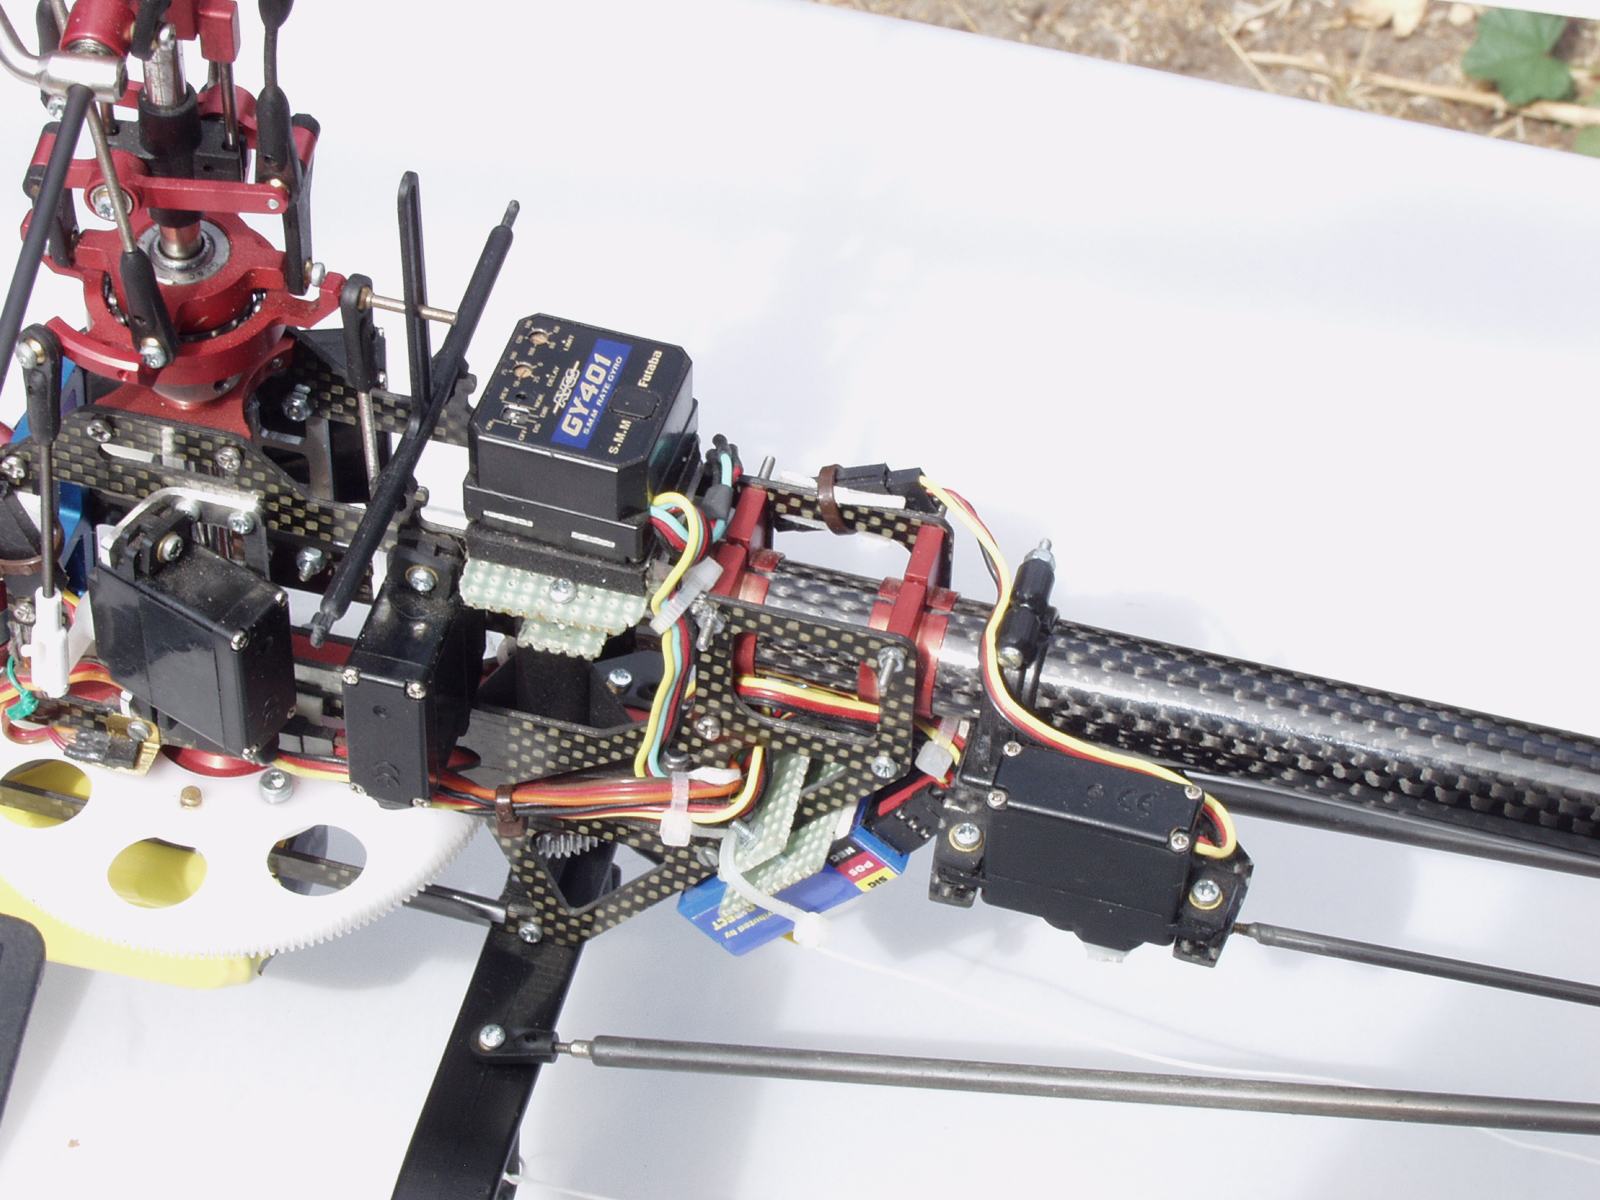

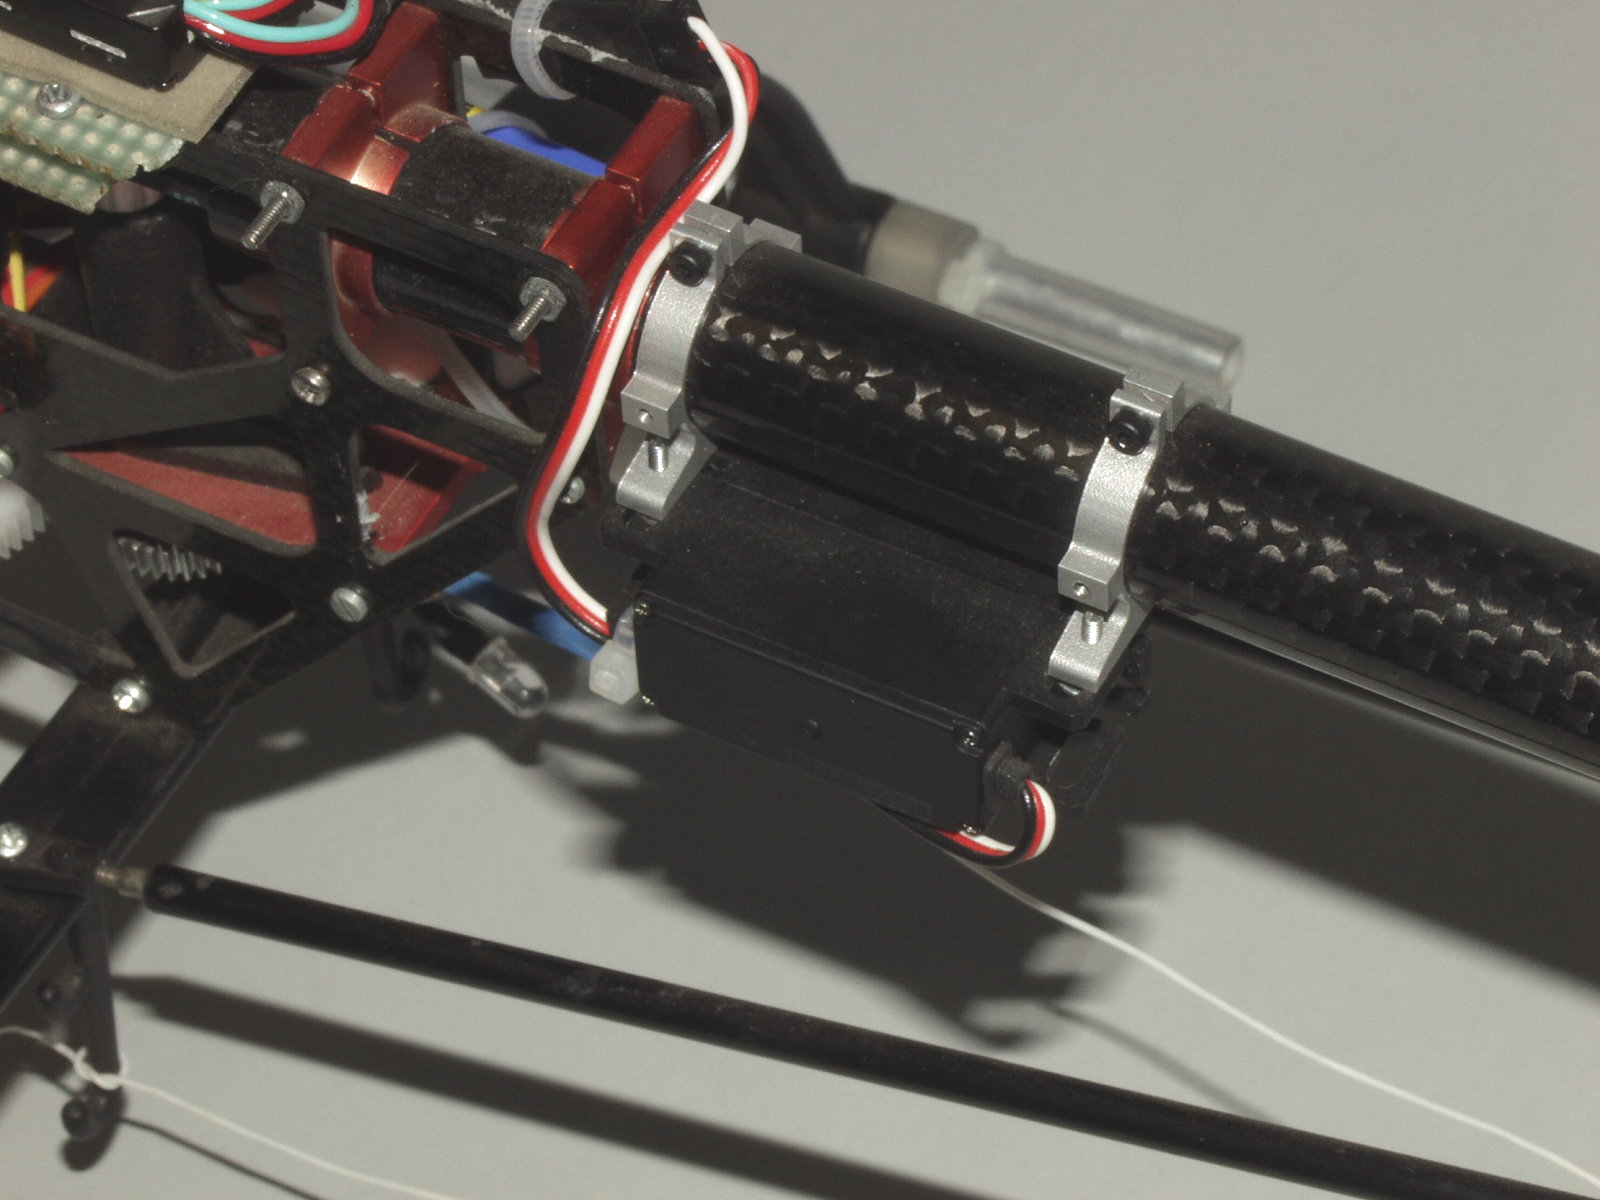
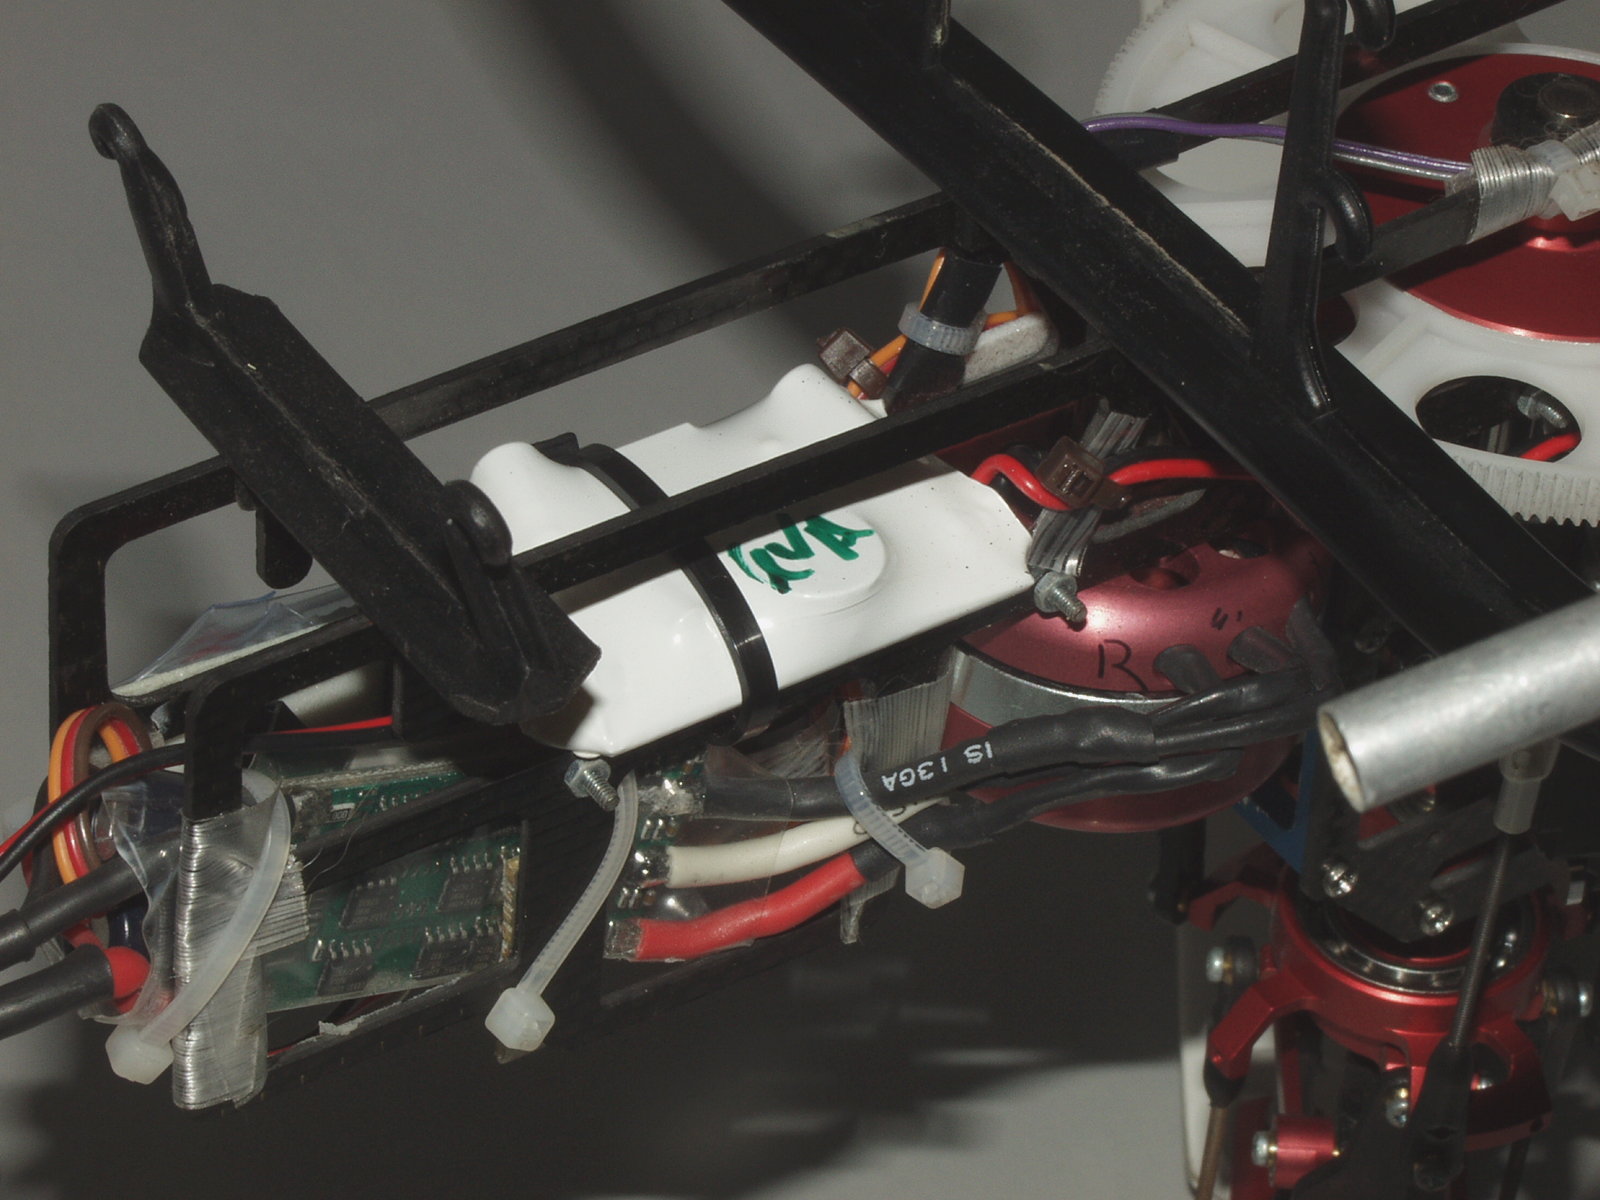
In October of 2004 I made the following changes do to a problem with the stability of the tail. I replaced the tail servo, a Hitec HS81MG with a Futaba S9650 Digital Mini Servo. I purchased the servo at Tower Hobbies. They cost $60.00 USD each. I also added a 6 Volt Ultimate BEC power supply to replace the 5 volt BEC (Battery Elimination Circuit) that's on the CC P60 ESC (Electronic Speed Controller). See this link for more information on the UBEC power supply.
If you make this change and your ESC has a BEC, you must disconnect the 5 VDC power supply line from the ESC. This can be done by cutting the power line (usually the red wire) near the connector that plugs into the receiver. The ground and signal wire from the speed control still need to go to the receiver, so don't cut these lines! If your receiver has a spare channel you can simple plug the UBEC wire to the free channel. Since my receiver does not have a free channel I needed to make a special "Y" cable that connected the ground wires from the speed controller and the UBEC supply together. The signal wire to the ESC was not changed and the power supply line was connected to the UBEC. See schematic below:
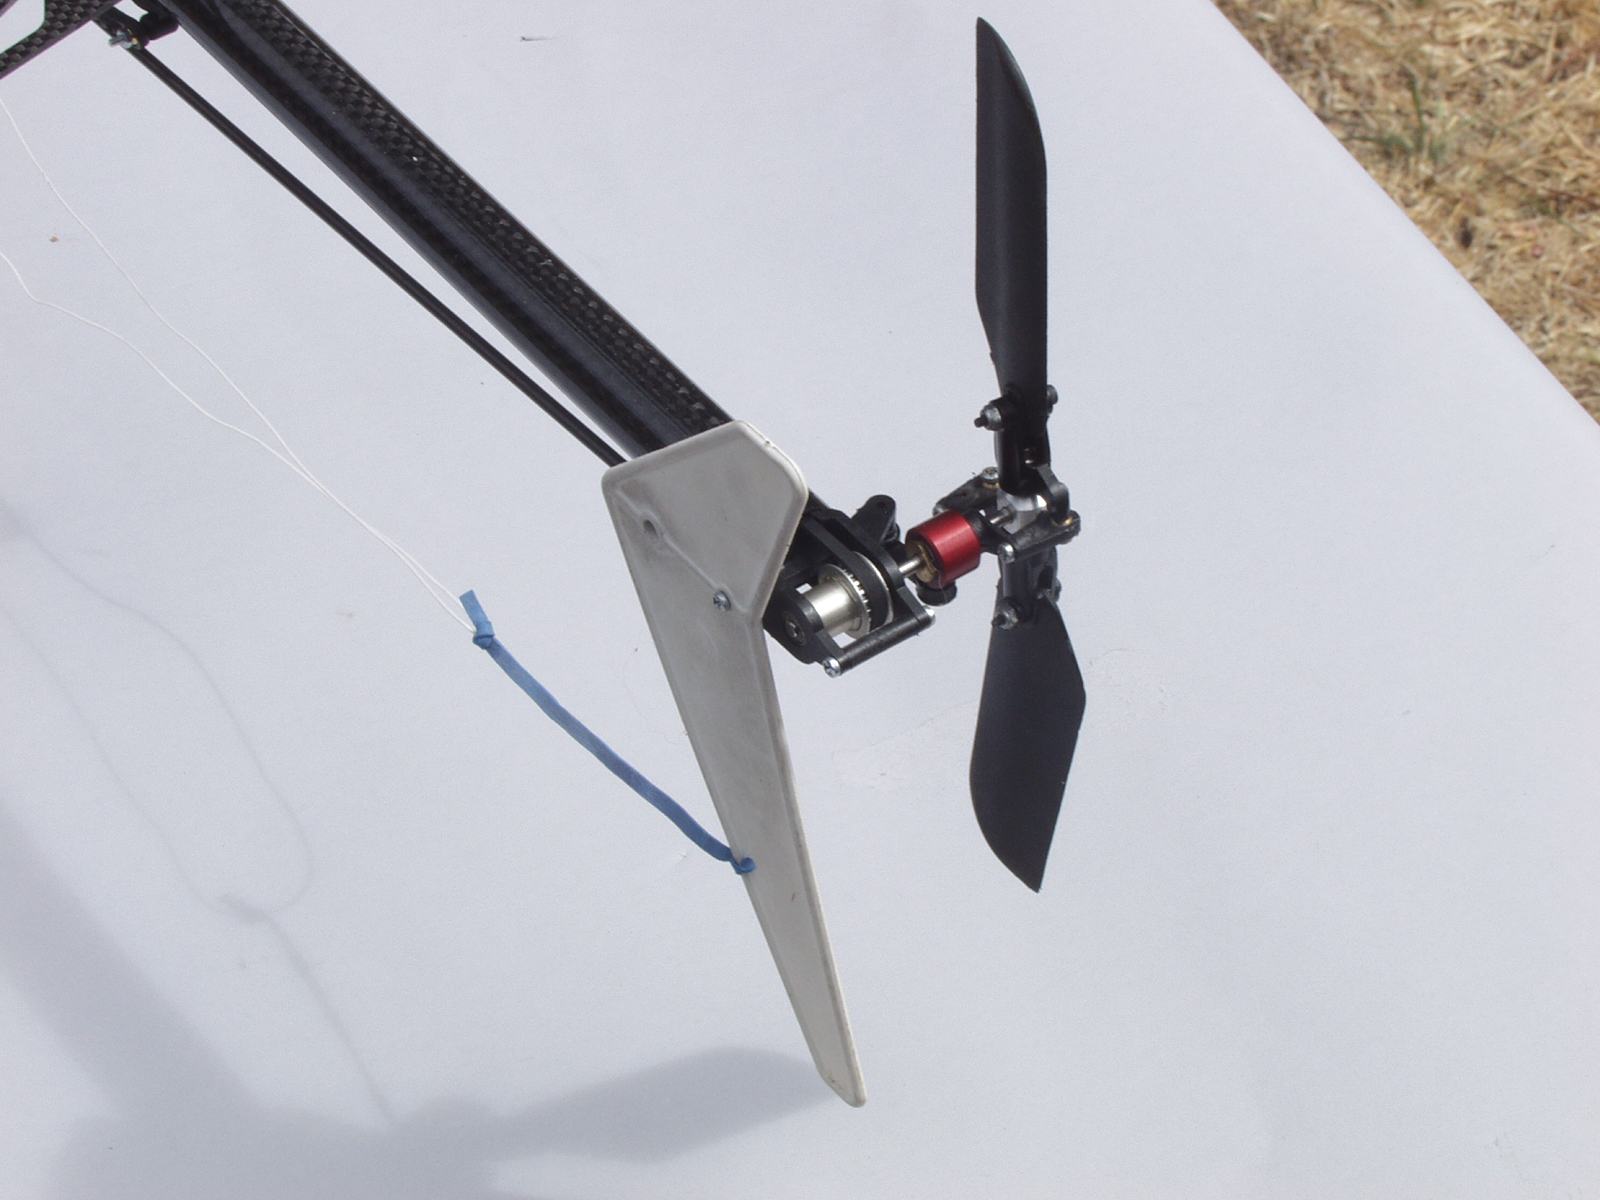
After making the changes the helicopter flew much better. The tail is now rock solid. Besides having more power another advantage with using the Digital S9650 servo is I can now use the digital output mode of the GY401 gyro. In the digital mode the gyro outputs data to the servo at a higher frame rate. This allows the gyro to better control the servo and the tail stability is increased. Below are some photos showing how I mounted the servo to the boom.
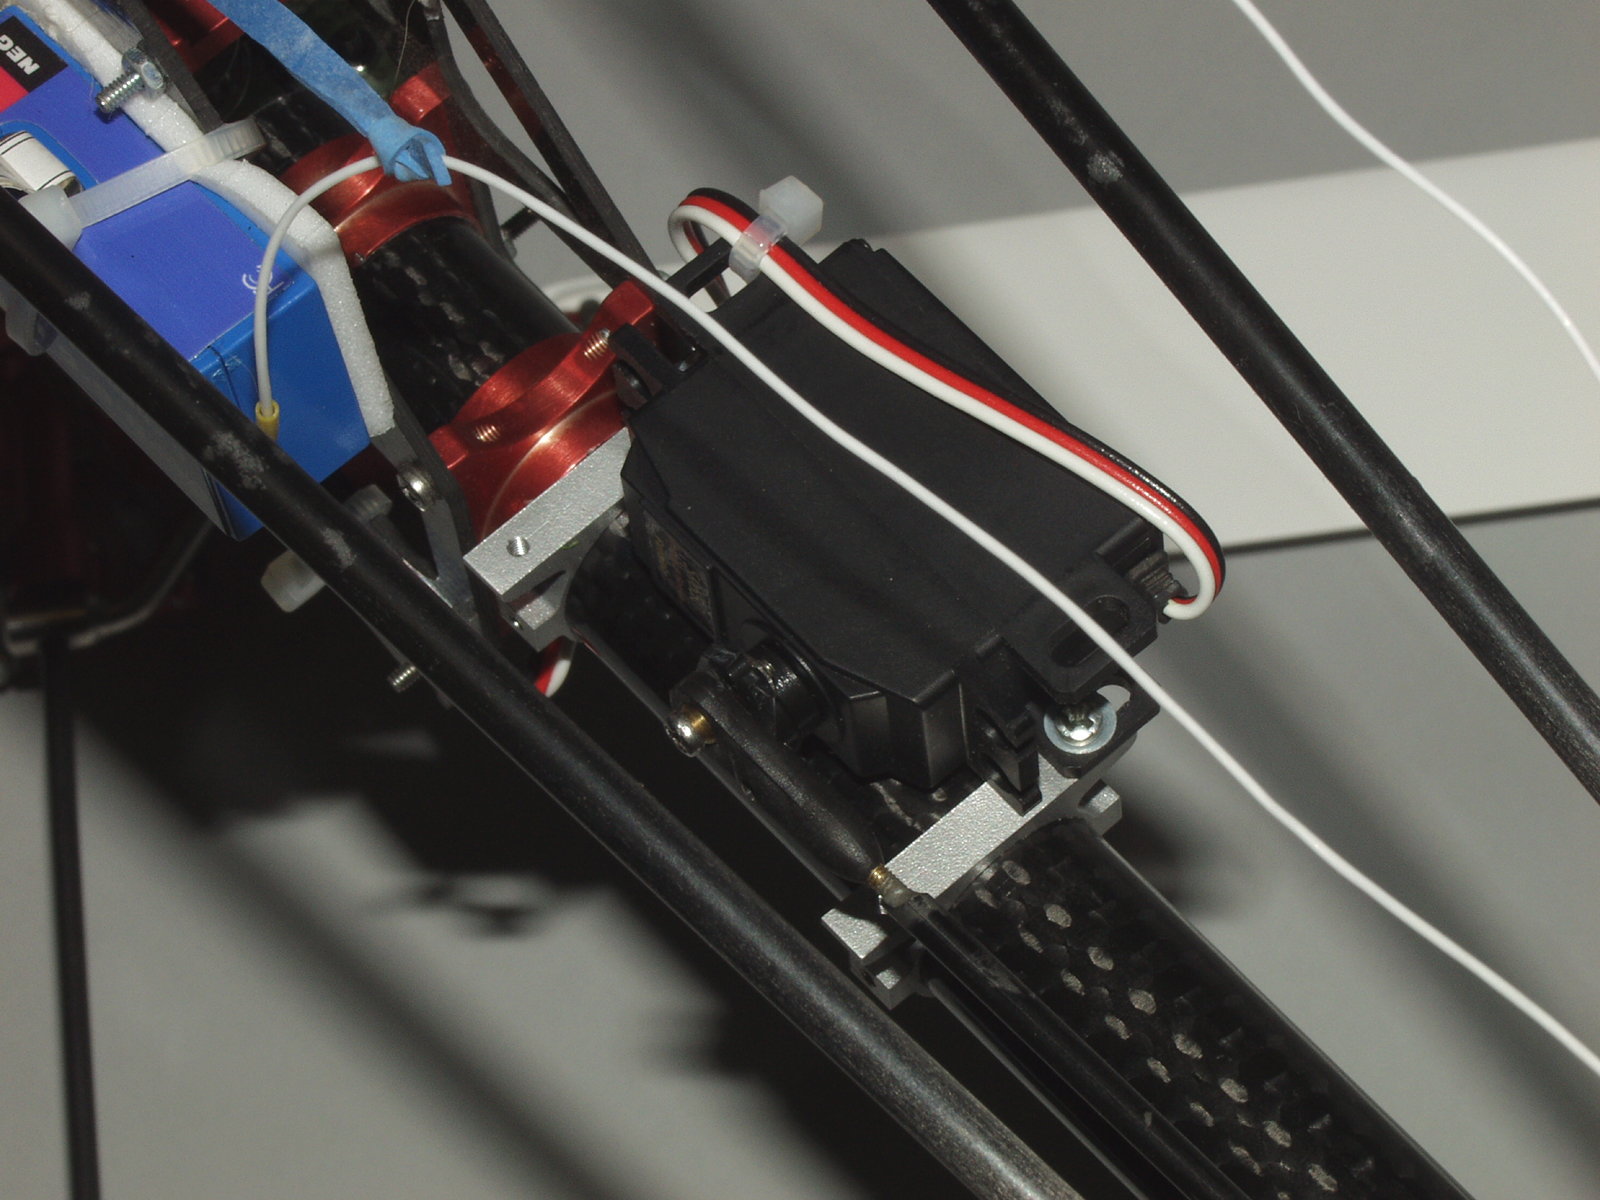
Bottom View
I am using two Boom Horizontal Fin Clamps available at Helihobby to mount the servo. Since the S9650 servo is larger then the HS81 the standard tail boom servo mount kit can not be used. Note, I am not using any rubber grommets. The servo is directly mounted to the clamps using two 2MM screws.
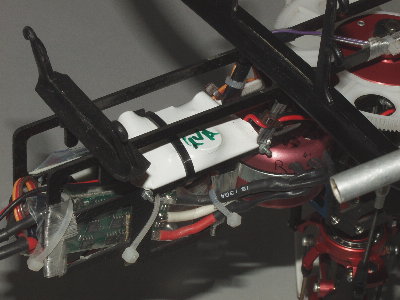
I mounted the UBEC on the bottom of the main frame plate using some servo mounting tape and a cable tie. I choose the newer 6 VDC version of the UBEC, previous models only had a 5 VDC output, so that the servos could operate at a higher voltage level. This allows the servo to produce more power and operator faster. Below is a photo of the UBEC mounted on the helicopter.
For the last few months I have been using a 19 tooth motor pinion. With the TP-8000 3S4P battery pack and the H8 motor I am getting a headspeed of ~1650 RPM at the beginning of the flight and ~1475 RPM at the end of a 22 minute flight. See this page for information on how I measure headspeed and graphs showing how the headspeed changes during a flight.
This page viewed
times since August 22, 2004
[ Top ] [ ECO 8 Home ]
